Introduction to Dreamsicle Jelly
The nostalgia of childhood flavors
Remember those warm summer afternoons, the sun shining brightly, and the sweet, creamy taste of a Dreamsicle? The combination of orange and vanilla is a flavor memory many of us cherish from childhood. Each bite of that frozen treat was like a mini-vacation, evoking carefree days spent playing outside and indulging in something delightful. Creating dreamsicle jelly is like bottling that nostalgia—bringing back those simple joys right into your kitchen.
As adults, we sometimes lose touch with the flavors that brought us joy in our younger years. That’s why this dreamsicle jelly recipe is perfect. It’s more than just a spread; it’s a way to reconnect with your past while creating new memories with family and friends. Who wouldn’t want to reminisce about the good old days over a breakfast of toast topped with this vibrant, sweet jelly?
Why homemade jelly is a game-changer
Making dreamsicle jelly at home is not just a fun culinary project; it’s a way to elevate your kitchen game. Have you ever noticed the ingredients list on store-bought jelly? More often than not, it’s filled with preservatives and artificial flavors. Homemade is not only fresher but allows you to control exactly what goes into your food. According to a report from the Food and Drug Administration, consumers are increasingly looking for clean labels and healthier options. Making your own jelly fits right into this trend.
Here are some benefits of homemade jelly:
- Customization: Want it sweeter or a bit tangy? Adjust the sugar and citrus levels to match your palate.
- Quality Ingredients: Use organic fruit and sugar for a high-quality product you can feel good about.
- Unique Gifts: Homemade dreamsicle jelly makes a lovely, personal gift for friends and family, showcasing your culinary skills.
By stepping into the world of homemade spreads, you’re not just creating something delicious; you’re becoming a part of a lovely tradition. If you’re ready to craft your own nostalgic delight, let’s dive into this recipe!
Ingredients for Dreamsicle Jelly
Creating a delightful batch of dreamsicle jelly is easier than you might think! Here’s what you’ll need for that perfect sweet and tangy treat that will remind you of sunny days and childhood pleasures.
Fresh Ingredients to Gather
- 2 cups of orange juice: Use freshly squeezed for the best flavor, or opt for your favorite brand without added sugar.
- 1 cup of sugar: This sweet touch will balance the tartness of the juice.
- 1 ½ cups water: Essential for dissolving the sugar and creating the jelly base.
- 1/4 cup lemon juice: This adds a refreshing zing to enhance the orange flavor.
- 1 packet of fruit pectin: Ensures your jelly sets perfectly. Look for a brand that suits your dietary preferences, like no-sugar options.
- 1/2 teaspoon of vanilla extract: For that heavenly dreamsicle taste.
Proper preparation of these ingredients is key. Want more tips? Check out food safety practices from resources like the USDA’s Food Safety and Inspection Service. With these simple ingredients, you’re on your way to making a delicious batch of dreamsicle jelly that friends and family will love!
Preparing Dreamsicle Jelly
Making dreamsicle jelly is like crafting a little jar of sunshine! It merges the delightful flavors of orange and cream, conjuring up memories of summer treats. Let’s take a dive into the steps to create this sweet delight, ensuring you have fun and end up with delicious results.
Straining the Orange Juice
First things first — the star ingredient: orange juice. While fresh-squeezed is always best, ensure you’re with high-quality juice if short on time. Buy freshly squeezed orange juice from your local market or use a good brand’s pure juice without added sugars.
-
Squeeze and Strain: If you’re juicing oranges yourself, use about six to eight medium-sized oranges. After juicing, strain the juice through a fine-mesh sieve to remove any pulp or seeds. This ensures a smooth jelly, and who wouldn’t want that?
-
Measure Carefully: For the dreamsicle jelly, you’ll need roughly 2 cups of strained orange juice.
Combining Ingredients in the Pot
Now that you have your juice, it’s time to gather the rest of your ingredients. You’ll need sugar, lemon juice, vanilla extract, and, if you choose, pectin.
-
Choose a Pot: Grab a large, heavy-bottomed pot to accommodate the mixture as it cooks.
-
Mixing Time: Combine the strained orange juice with 4 cups of granulated sugar, ¼ cup of lemon juice (for that zesty balance), and 1 teaspoon of vanilla extract. If you’re using pectin, follow the package instructions for quantity, as it varies by brand.
Boiling the Mixture
Once everything is in the pot, it’s time for some heat!
-
Heat Gradually: Start heating your pot over medium heat, stirring gently until the sugar dissolves completely. You’ll notice a frothy layer forming; don’t worry, that’s normal!
-
Bring to a Boil: Turn up the heat until the mixture reaches a vigorous boil. Boil it for about 5-10 minutes until it thickens slightly. It’s essential to keep an eye on it, stirring occasionally to prevent burning — nobody likes a scorched bottom!
Cooking with or Without Pectin
Here’s where the magic happens, with a choice to inject a little science into your jelly-making!
-
Using Pectin: If you’re leveraging the power of pectin, it will help your jelly set up nicely and maintain that delightful jelly texture. Stir it in after boiling for another minute or so while monitoring the thickening action.
-
Going Natural: If you prefer a more natural route, you can skip the pectin. In this scenario, just continue to cook your mixture until it reaches the gel stage, which you can test by dropping a spoonful onto a cold plate to see if it holds its shape.
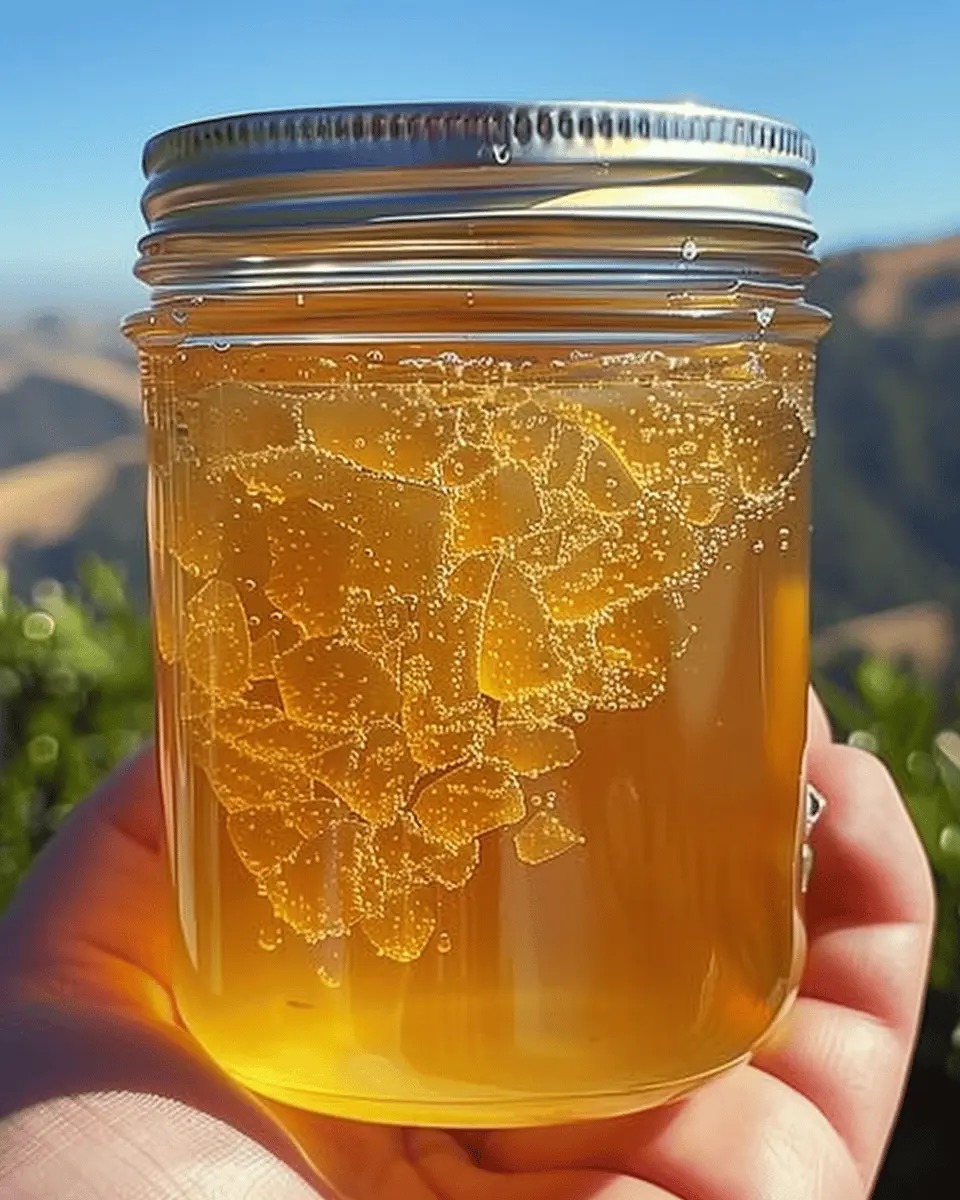
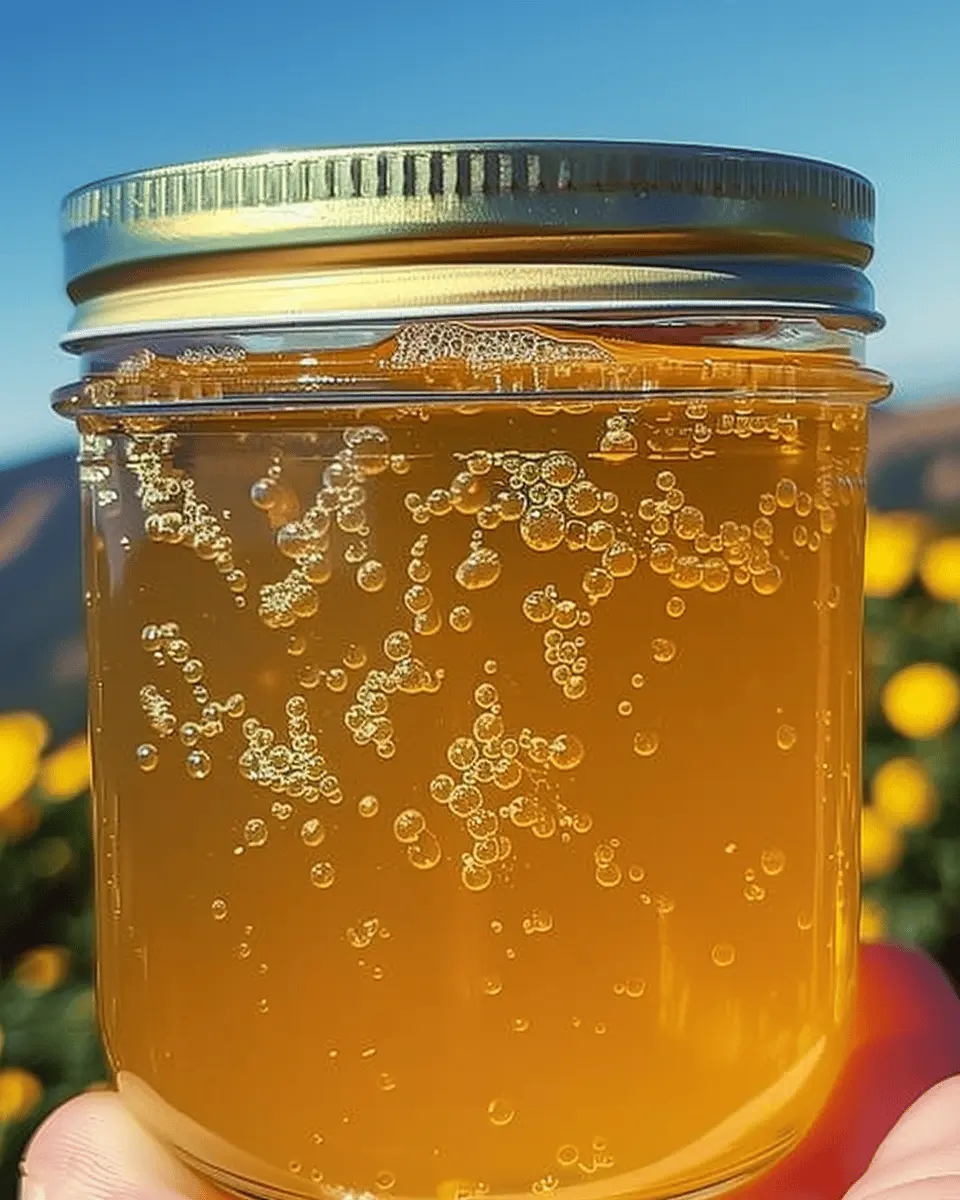
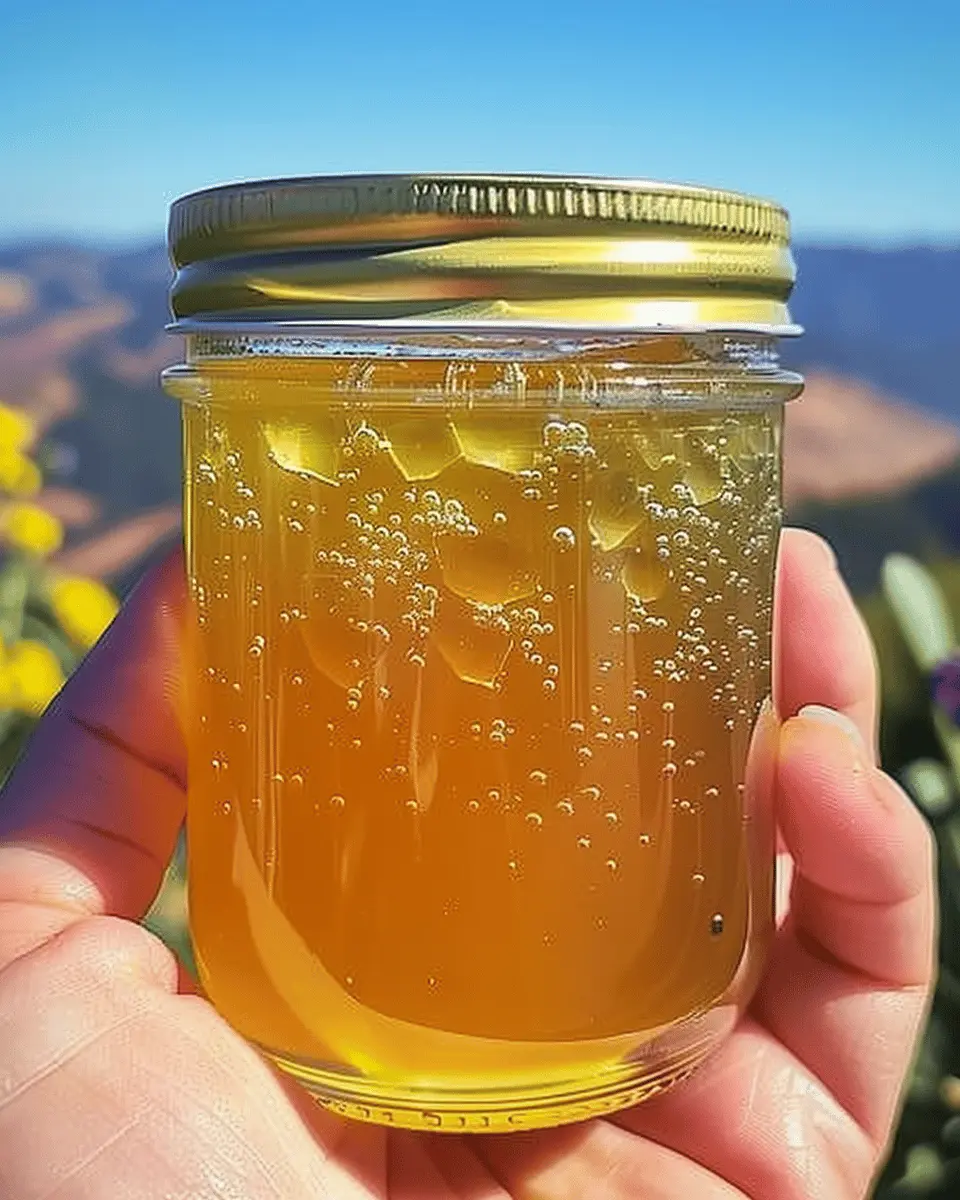
Jarring the Jelly
The final step: jarring your dreamsicle jelly for later enjoyment! This is where your sterilized jars come into play.
-
Ready the Jars: Make sure to have your canning jars sterilized and kept warm. This helps prevent breakage when you pour the hot jelly in.
-
Fill with Care: Pour your dreamsicle jelly mixture into the jars, leaving about ¼ inch of headspace at the top.
-
Seal and Cool: Wipe down the rims of the jars to ensure a good seal, place the lids on, and tighten. Then, let them sit at room temperature until they’re completely cool. You should hear the satisfying “pop” as they seal!
And just like that, with a bit of love and patience, you’ve mastered the art of making dreamsicle jelly! Feel free to share your results online or add even more freshness by pairing with turkey bacon or chicken ham sandwiches for a delightful meal. For more canning tips and recipes, check out reputable sources like Ball Canning to refine your skills further. Happy jarring!
Variations on Dreamsicle Jelly
Creating your own dreamsicle jelly offers endless possibilities for delicious variations. Here are some ideas to inspire your next jelly adventure.
Adding Different Citrus Flavors
While the classic combination of orange and vanilla is a crowd-pleaser, you can easily switch it up by incorporating other citrus fruits. Consider these options:
- Lemon: For a refreshing twist, swap some of the orange juice for lemon juice. The zesty flavor can brighten your jelly and add a touch of tartness.
- Grapefruit: If you’re a fan of bitter notes, grapefruit can give your dreamsicle jelly a unique character. Just be mindful that it may require a boost in sweetness.
- Lime: This tropical favorite enhances the jelly with a zesty kick. The refreshing taste of lime will transport you to sunny shores.
Experimenting with these flavors can lead to exciting combinations, so don’t hesitate to mix and match!
Using Alternative Sweeteners
If you’re looking to cut back on sugar or prefer a different sweetness profile, there are plenty of alternative sweeteners you can consider:
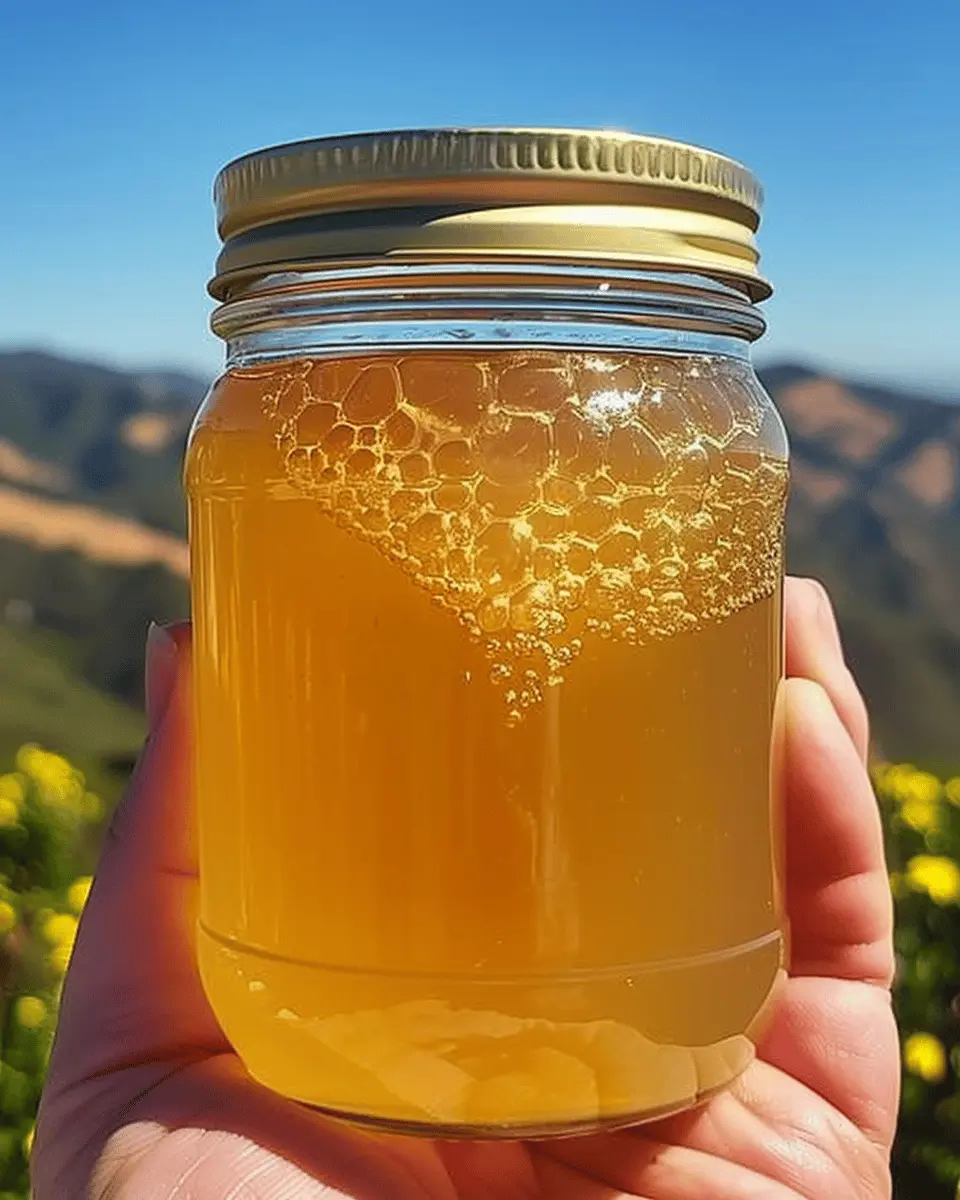
- Honey: A natural alternative that adds a touch of floral flavor. Just remember, honey is sweeter than sugar, so adjust your measurements accordingly.
- Agave Nectar: With a lower glycemic index than regular sugar, agave nectar might be a best choice for those watching their blood sugar levels.
- Maple Syrup: This can introduce a rich, earthy flavor to your dreamsicle jelly, making it a perfect match for breakfast spreads.
These alternatives not only change the flavor profile but also might suit various dietary preferences. For more health information on sweeteners, check out Healthline.
So, roll up your sleeves and let your creativity shine with dreamsicle jelly! What variations will you try first?
Cooking Tips and Notes for Dreamsicle Jelly
Importance of Fresh Ingredients
When making your dreamsicle jelly, using fresh ingredients is crucial. Fresh oranges, for instance, will lend a vibrant flavor that’s simply unmatched by store-bought alternatives. Try sourcing organic oranges for more intense sweetness and perfect tang. You can read more about the benefits of fresh produce here. A quick zest and a generous squeeze of juice from a fresh orange can elevate your jelly’s freshness, transporting you straight to those summer days of popsicle bliss.
The Role of Butter in Jelly-Making
You may be surprised to hear that adding a small amount of butter while cooking your dreamsicle jelly can enhance its overall texture and flavor. Butter helps prevent foaming during cooking, allowing for a smoother, clearer jelly. Just a tablespoon will do—enough to provide richness without overpowering the citrus notes. This little trick can turn a good jelly into a great one!
As you embark on your jelly-making adventure, remember that patience is key. Let it cool to room temperature before transferring to jars for the best results. Happy cooking!
Serving Suggestions for Dreamsicle Jelly
Perfect Pairings with Breakfast Dishes
Imagine starting your day with a delightful spread of dreamsicle jelly on warm, toasted English muffins. The sweet, creamy profile complements perfectly with the crunch of turkey bacon or chicken ham. For a healthy twist, consider topping Greek yogurt with a generous dollop of this jelly for a refreshing breakfast or snack. You can even swirl it into overnight oats for an unexpected treat.
Creative Dessert Ideas Featuring Jelly
When it comes to desserts, dreamsicle jelly shines in unexpected ways. Try using it as a filling for cupcakes or as a complement to cheesecake for a citrusy zing. Want something simple? Layer it with whipped cream and fresh fruit in a parfait glass for an inviting dessert. You could also drizzle it over pound cake or ice cream for a quick and satisfying sweet fix.
For more fun ideas and inspiration, check out sources like Taste of Home or Bon Appétit. Your brunch and dessert game will never be the same again!
Time breakdown for Dreamsicle Jelly
When you’re ready to whip up your delightful dreamsicle jelly, it’s essential to plan ahead. Let’s break down the time involved to ensure you’re well-prepared for this sweet adventure.
Preparation time
Getting started with your dreamsicle jelly takes about 20 minutes. This involves gathering your ingredients, measuring them out, and prepping your jars for sealing. Don’t forget to wash and sterilize your jars beforehand—this is key for keeping your jelly fresh!
Cooking time
The actual cooking time is relatively quick, taking about 30 minutes. You’ll be simmering your mixture to achieve that perfect dreamsicle flavor, blending oranges and cream for a delicious tropical touch.
Total time
In total, you’re looking at around 50 minutes from start to finish. This makes it a fantastic option for an evening project that leaves you with sweet rewards. Once your jelly is ready, it will need a few hours to cool and set properly. For guidance on proper cooling and setting times, check out resources from the National Center for Home Food Preservation.
With this breakdown, you can easily fit dreamsicle jelly creation into your busy schedule. Happy jelly-making!
Nutritional facts for Dreamsicle Jelly
When you’re enjoying a delightful spoonful of dreamsicle jelly, it’s nice to know what you’re consuming. Let’s break down some key nutritional facts that can help you indulge wisely.
Calories per serving
Each serving of dreamsicle jelly typically contains about 50-70 calories. This means you can satisfy your sweet tooth without feeling guilty. Plus, it’s a fantastic low-calorie option for adding a burst of flavor to your breakfast or snacks.
Sugar content per serving
One of the main highlights is the sugar content, which usually falls between 10-15 grams per serving. While sugar gives that irresistible sweetness, it’s always a good idea to balance it with other healthy snacks or breakfasts like whole-grain toast or even yogurt. For more information on sugar intake, check out the American Heart Association’s recommendations for daily sugar limits. Enjoying dreamsicle jelly in moderation can make your diet both nutritious and flavorful!
Using dreamsicle jelly as part of a balanced approach allows you to savor the moment and keep your health in check. What’s your favorite way to enjoy it?
FAQs about Dreamsicle Jelly
When it comes to making your own dreamsicle jelly, you’ll likely have a few questions along the way. Here are some common inquiries to help you navigate the jelly-making process successfully!
How do I know if my jelly is properly set?
A properly set dreamsicle jelly should have a firm but jiggly consistency. A common test involves using the “plate test.” Simply put a spoonful of jelly on a chilled plate and place it in the freezer for a couple of minutes. Run your finger through it; if it holds its shape and doesn’t run back together, you’ve hit the sweet spot! For further guidance, reputable sources like the USDA offer detailed testing techniques.
Can I reduce the sugar in the recipe?
Absolutely! While sugar helps with preservation and sweetness, you can experiment with reducing it. Keep in mind that your jelly’s texture and shelf life might be affected. If you’re using fruit low in natural sugars, this adjustment can work well. Consider using sugar substitutes specifically designed for canning to maintain both sweetness and consistency.
What are the best ways to store homemade jelly?
Storing your dreamsicle jelly is crucial for keeping it fresh. Here are some tips:
- Cool and Seal: Allow the jars to cool completely before sealing to avoid condensation.
- Refrigerate: Once opened, keep your jelly in the fridge for about 3 weeks.
- Freeze: For longer storage, you can freeze jelly—just leave some space at the top of the jar to allow for expansion.
For detailed storage options, check out resources like the National Center for Home Food Preservation.
With these tips, you’ll be well on your way to enjoying your homemade dreamsicle jelly. Embrace your culinary journey!
Conclusion on Dreamsicle Jelly
Embracing homemade delights
There’s something truly magical about making your own dreamsicle jelly. Not only does it transport you back to carefree summer days, but it also allows you to personalize flavors to your liking. Making this sweet treat from scratch can be a fun way to unwind after a busy week.
You can serve it as a unique gift or simply enjoy it on toast, with yogurt, or as an ingredient in your dessert creations. If you’re looking to dive deeper into the world of jelly making, check out resources on food preservation or consult guides on flavor pairing.
Making dreamsicle jelly truly reflects the joy of homemade delights! So, gather your ingredients and start your own adventure in jelly making – you’ll love the results!
PrintDreamsicle Jelly: Indulgent Delight for Your Summer Treats

Enjoy a refreshing and creamy treat this summer with Dreamsicle Jelly, a delightful dessert that combines the zesty flavor of oranges and the smoothness of cream.
- Prep Time: 15 minutes
- Cook Time: 5 minutes
- Total Time: 20 minutes
- Yield: 4 cups
- Category: Dessert
- Method: Stovetop
- Cuisine: American
- Diet: Vegetarian
Ingredients
- 2 cups orange juice
- 1 cup granulated sugar
- 1 packet fruit pectin
- 1 cup cream
- 1 tbsp vanilla extract
Instructions
- In a large pot, combine the orange juice and sugar over medium heat.
- Stir in the fruit pectin and bring to a boil, stirring constantly.
- Once boiling, let it cook for 1 minute, then remove from heat.
- Stir in the cream and vanilla extract until well combined.
- Pour the jelly into sterilized jars and seal.
- Allow to cool and set at room temperature, then refrigerate.
Notes
- For added flavor, consider adding a pinch of salt.
Nutrition
- Serving Size: 1 tablespoon
- Calories: 50
- Sugar: 10g
- Sodium: 5mg
- Fat: 2g
- Saturated Fat: 1g
- Unsaturated Fat: 0g
- Trans Fat: 0g
- Carbohydrates: 12g
- Fiber: 0g
- Protein: 0g
- Cholesterol: 10mg