Introduction to Homemade Cereal Bars
When it comes to snacking, cereal bars often come to the rescue as a convenient option. But have you ever wondered why you should choose homemade cereal bars over the store-bought variety? Let’s dive into the reasons!
Why Choose Homemade Cereal Bars Over Store-Bought?
First off, (homemade cereal bars) allow you to control the ingredients. Look at some of those commercial brands—often packed with artificial preservatives, excessive sugars, and mysterious additives. According to a study published in the Journal of Food Science, many popular snacks contain as much as 30% of your daily sugar intake in just one serving! By crafting your own bars, you can tweak each ingredient to suit your palate and dietary needs. You might even consider adding wholesome ingredients like nuts, seeds, or dried fruits, depending on what you have in your pantry.
There’s also the joy of customization. One day you can whip up a batch infused with chocolate chips, and the next, opt for a healthy mix of oats, honey, and nut butter. The options are endless! This versatility is especially beneficial for those on specific diets like gluten-free or vegan. You can find more tips on healthy snacking at resources like the CDC’s nutrition guidelines.
Moreover, you save on costs. (Store-bought cereal bars) can take a toll on your wallet if consumed regularly. Making your own can be a fun and budget-friendly alternative; a little bulk buying of oats or a jar of nut butter can lead to significant savings in the long run.
Consider the satisfaction of knowing exactly what’s in your food. Have you ever tasted that delightful crunch from homemade bars, fresh out of the oven? That’s a flavor you simply can’t replicate with the pre-packaged versions.
Ultimately, making your own cereal bars can fit perfectly into a busy lifestyle. They are easy to prepare on a Sunday, providing convenient snacks for the week. Plus, they make impressive grab-and-go options for those hectic mornings or mid-afternoon slumps.
So, ready to roll up your sleeves and get started? Your journey to the perfectly customized cereal bars begins now!
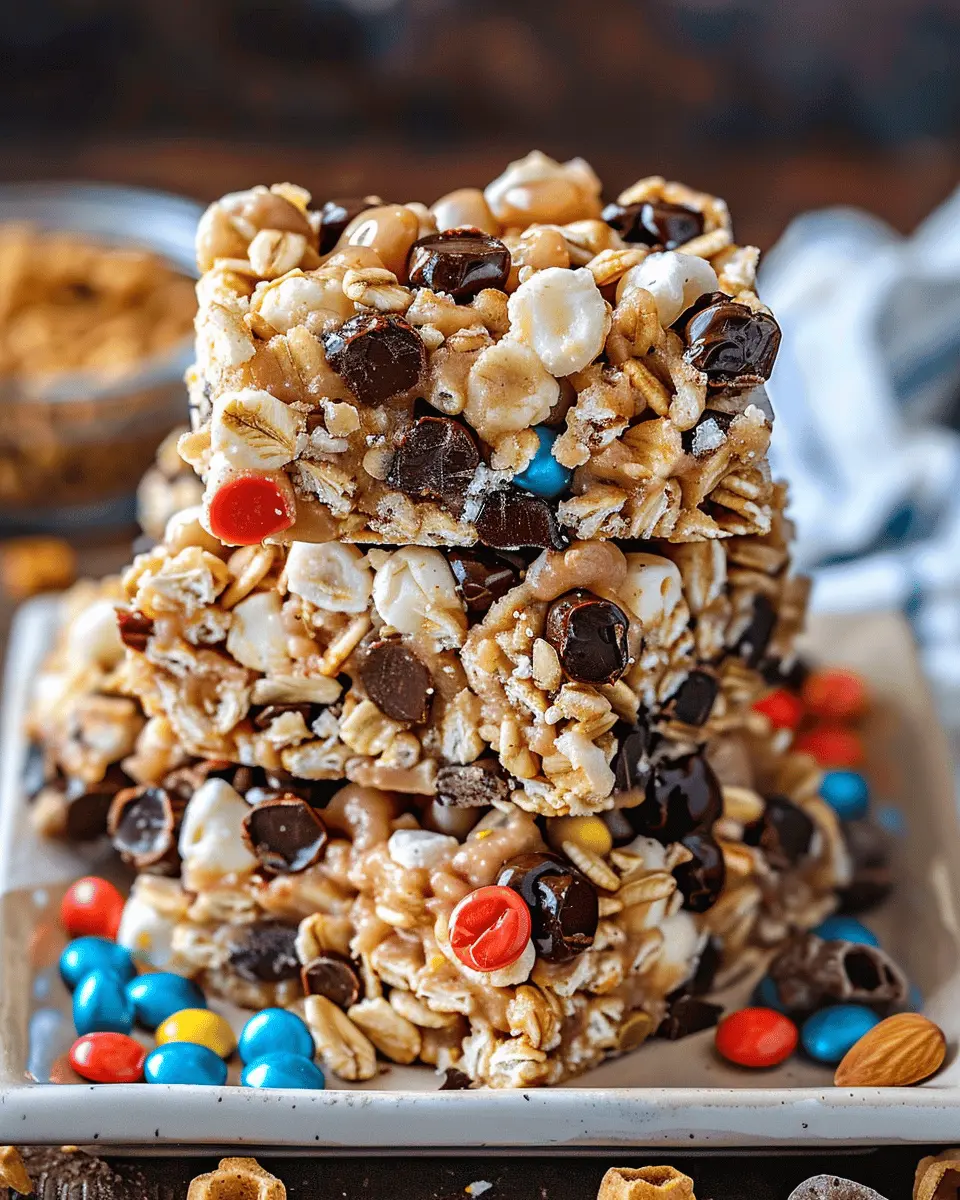
Ingredients for Homemade Cereal Bars
Essential ingredients for delicious cereal bars
Creating your own cereal bars can be fun and rewarding! To whip up a batch of these tasty treats, you’ll need a few key ingredients:
- Oats: The base of your bars, offering fiber and a wholesome texture.
- Nut butter: Peanut butter or almond butter works wonders. It adds creaminess and holds everything together.
- Sweetener: Honey, maple syrup, or agave nectar will sweeten your bars naturally, keeping them sticky and delicious.
- Cereal: Choose your favorite! Whether it’s rice crispies or granola, they contribute to the crunchiness.
- Add-ins: A pinch of salt enhances flavor.
For a deeper dive into the health benefits of oats and nut butters, check out resources from the American Heart Association or Harvard Health.
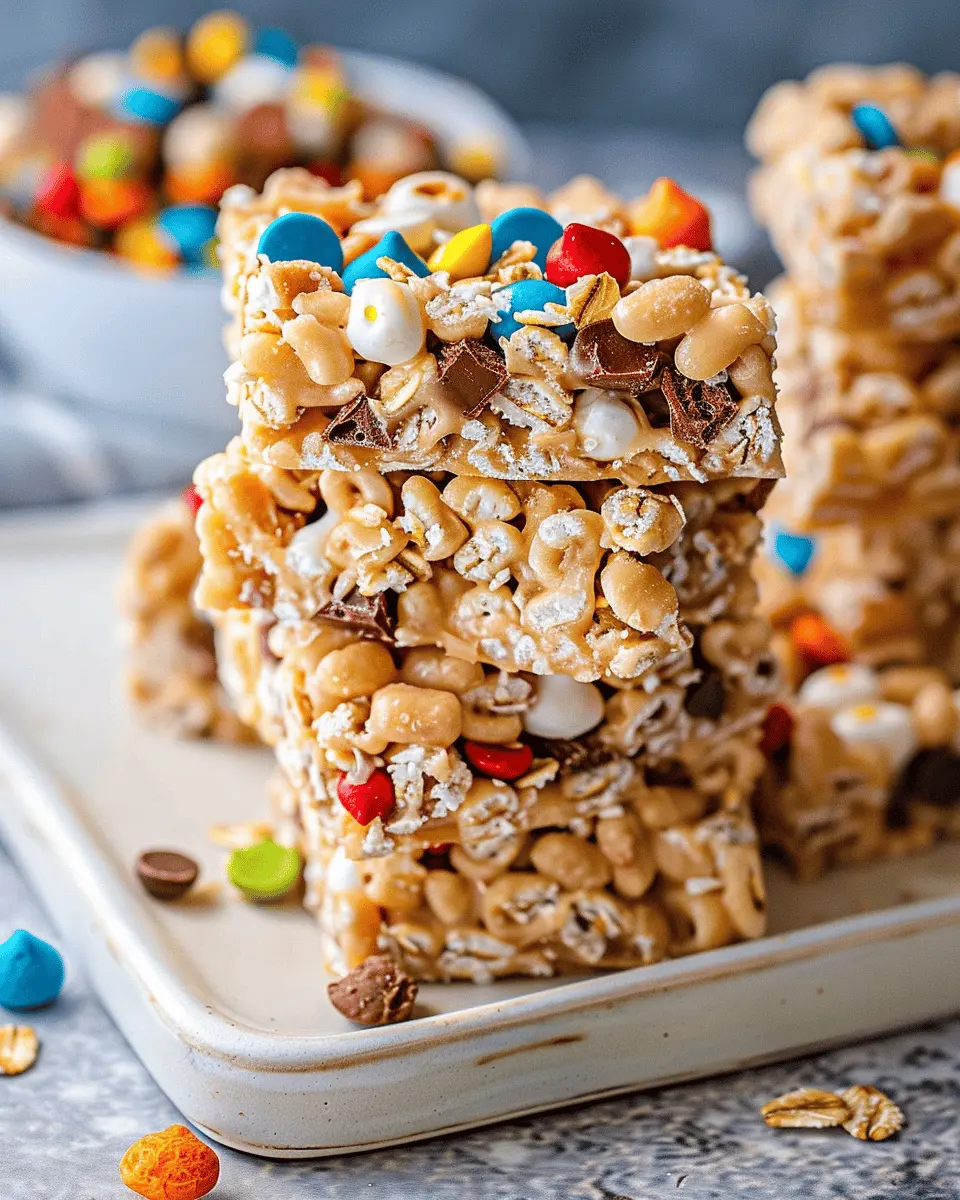
Optional add-ins for customization
Feel free to personalize your cereal bars with various mix-ins! Here are some ideas:
- Fruits: Dried cranberries, raisins, or chopped dates bring natural sweetness.
- Nuts & Seeds: Walnuts, almonds, or chia seeds add crunch and nutrition.
- Chocolate Chips: For a bit of indulgence, dark or white chocolate chips can elevate your bars.
The beauty of homemade cereal bars lies in their versatility—experiment to discover your perfect combination!
Preparing Homemade Cereal Bars
Making your own cereal bars is not just an enjoyable kitchen activity; it’s a fantastic way to whip up a tasty snack that you can feel good about. Plus, these bars are customizable and perfect for meal prep or a quick on-the-go breakfast. Ready to take on this fun culinary project? Let’s dive into the steps!
Gather Your Tools and Ingredients
Before you start, let’s get ready. You’ll need a few essential tools and ingredients to create the perfect cereal bars.
Tools:
- Large mixing bowl
- Saucepan
- Wooden spoon or spatula
- 9×13-inch baking dish
- Parchment paper (optional for easy removal)
Ingredients:
- 6 cups of your favorite cereal (cheerios, rice cereal, or granola work great)
- 1 bag (10 oz) of mini marshmallows
- ¼ cup of butter
- A pinch of salt
- Optional mix-ins: nuts, dried fruits, or chocolate chips
- Toppings: candies, melted chocolate, or nut butter for drizzling
Gathering everything beforehand makes the process smoother and more enjoyable. Did you know that customizing your bars can help you maintain a balanced diet? You can throw in some protein-rich nuts or fiber-packed dried fruits for an extra nutrient boost!
Melt the Marshmallows and Butter
Now, let’s get things melting! In a saucepan over low heat, add the butter and let it slowly melt. Once the butter is almost fully melted, add the mini marshmallows. Stir them gently until they’re fully melted and combined with the butter, creating a creamy mixture. Keep an eye on it to avoid burning—no one likes charred marshmallows!
This step is crucial; the right consistency will help your cereal bars stick together. According to nutrition experts, using high-quality ingredients here, such as mini marshmallows, can enhance the final flavor and texture.
Mix the Cereal with the Melted Mixture
Once your marshmallow and butter combo is all smooth and gooey, it’s time to mix in the fun stuff—your cereal! In your large mixing bowl, pour the cereal and drizzle the melted marshmallow mixture over the top. Using your wooden spoon or spatula, stir until each piece of cereal is evenly coated.
Pro tip: If you’re adding optional mix-ins, like chocolate chips or nuts, now’s the time! Just fold them in gently so they don’t break apart the cereal. The balance of textures can elevate your cereal bars from good to great, as studies show that crunch pairs beautifully with gooeyness.
Press into the Baking Dish
Next, take the combined mixture and pour it into your baking dish. You want to press it down firmly with your hands or the back of your spatula to ensure the bars hold their shape once they’re cut. A good tip here is to slightly grease your hands or use parchment paper to prevent sticking.
Let them cool for 30 minutes at room temperature, or if you’re in a hurry, pop them in the fridge for about 10-15 minutes!
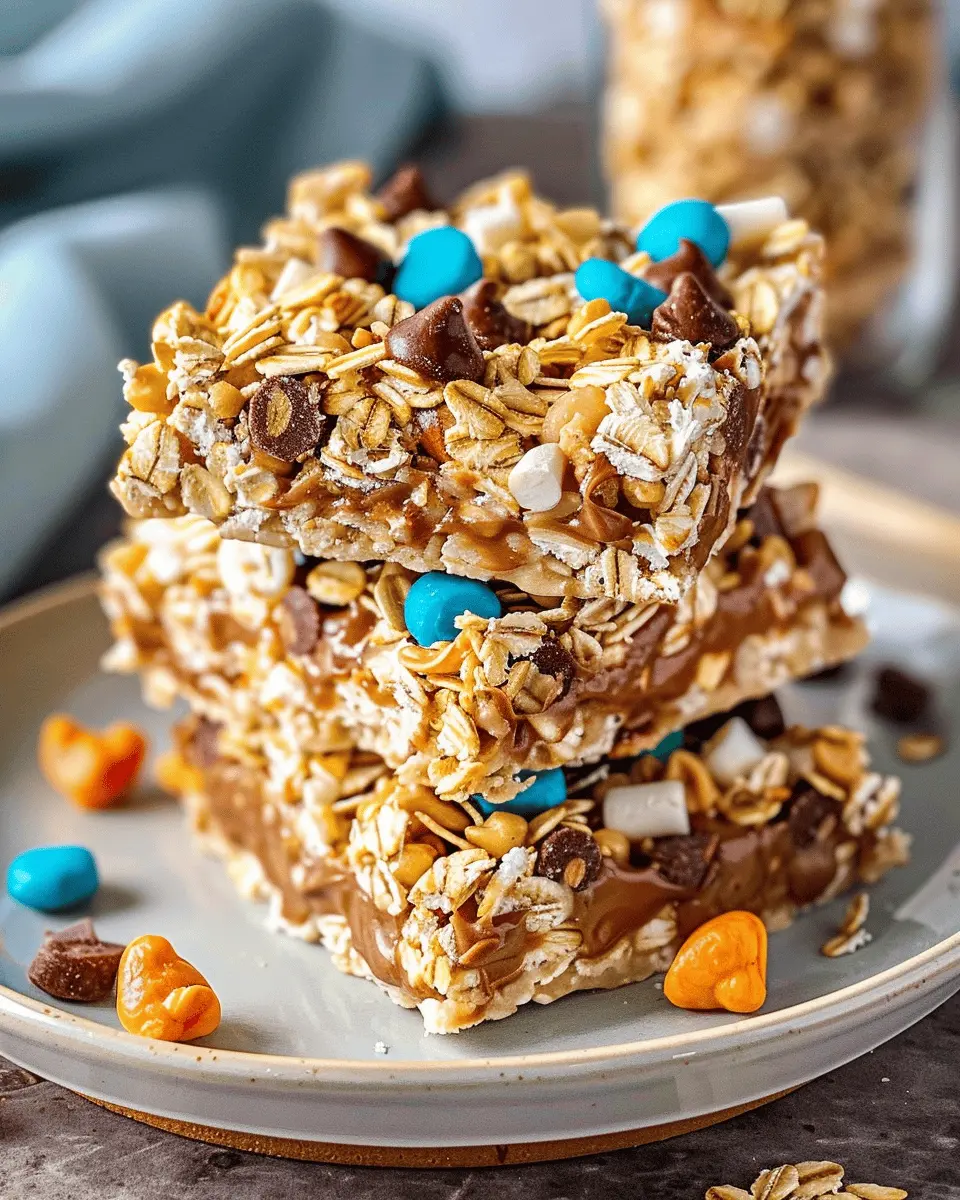
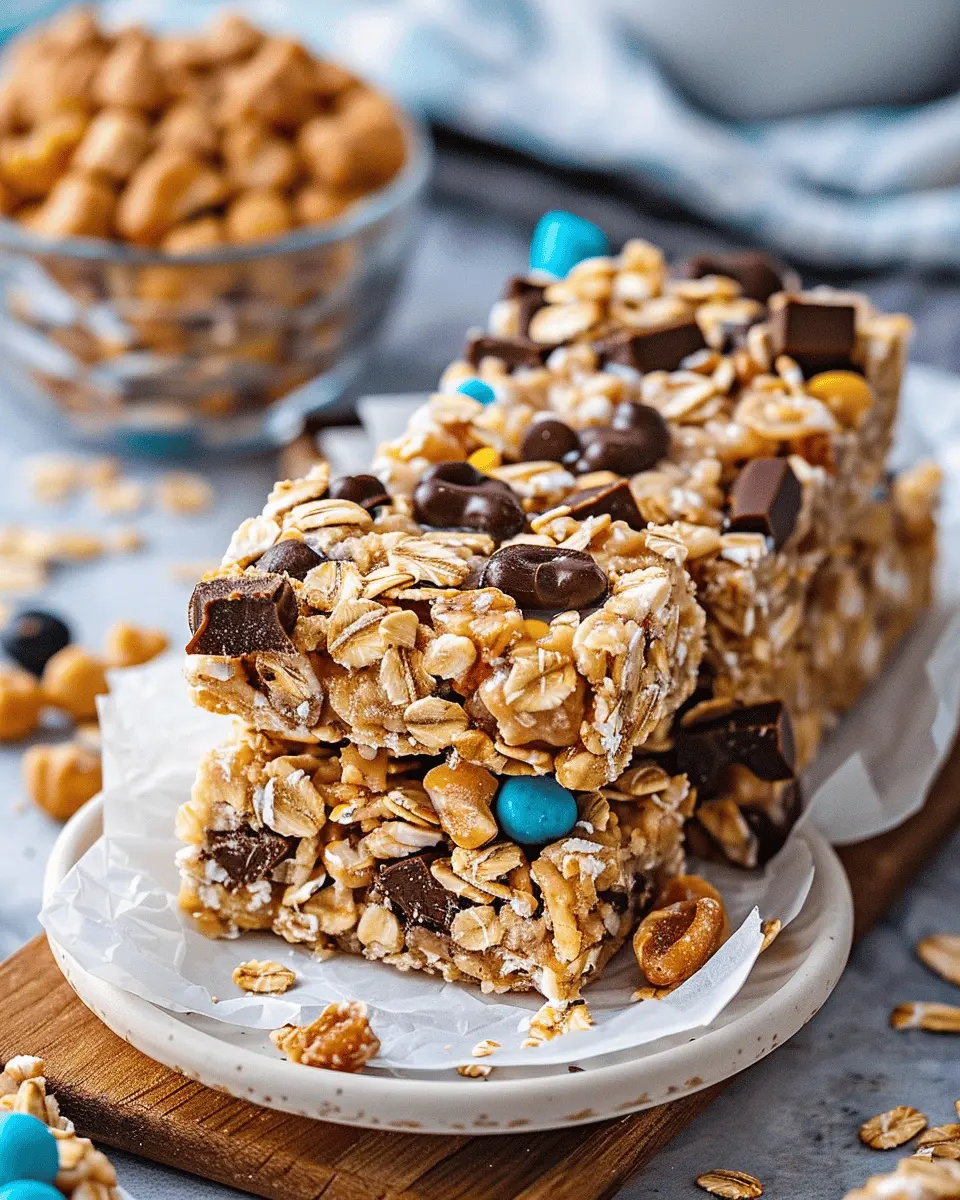
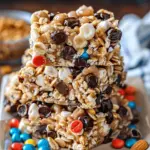
Decorate with Candies and Drizzle Toppings
Finally, let’s dress up those cereal bars! Once they’re set, you can get creative by decorating them with toppings. Think melted chocolate drizzles over the top, a sprinkle of colorful candies, or even a smear of nut butter. The possibilities are endless!
A quick note: If you want to enhance the visual appeal (and taste!) even more, consider adding fresh fruit slices or a sprinkle of sea salt. This not only makes for a beautiful presentation but also adds a nice contrast of flavors.
And there you have it—your homemade cereal bars are ready! Not only do you have a delicious snack on hand, but you’ve also created something tailored to your personal preferences. Happy snacking!
Variations on Homemade Cereal Bars
When it comes to cereal bars, the possibilities are practically endless! You can whip up a batch that suits various dietary needs and flavor cravings. Let’s explore a few delightful variations to keep your snack game strong:
Nut-Free Cereal Bars
If you’re looking for a nut-free option, these bars are perfect for school lunches or snack time. Use sunflower seed butter instead of peanut butter, and you’ll get that creamy texture without the nuts. Here’s a simple recipe to try:
- Ingredients: Rolled oats, honey or agave syrup, sunflower seed butter, and dried fruits or seeds.
- Tip: Adjust the sweetness based on your preference. A hint of cinnamon can add warmth too!
A lot of people face nut allergies, and ensuring your snacks are safe while still flavorful is crucial. Check out this nut-free guide for even more ideas.
Chocolate Overload Cereal Bars
Who doesn’t love chocolate? For a treat that’s sure to satisfy your sweet tooth, consider a chocolate overload cereal bar. Combine your usual base with cocoa powder, chocolate chips, and maybe even a drizzle of dark chocolate on top.
- Ingredients: Rolled oats, honey, cocoa powder, chocolate chips, and a pinch of sea salt.
- Fun Fact: Dark chocolate can be a great source of antioxidants!
These bars offer an irresistible mix of crunch and chewiness. You can explore the health benefits of dark chocolate here.
Fruity Cereal Bars with Dried Fruits
For those who enjoy a burst of flavor, fruity cereal bars can hit the spot. Combine dried fruits like cranberries, apricots, or raisins with oats and a sweetener.
- Ingredients: Rolled oats, honey, a mix of dried fruits, and a splash of vanilla extract.
- Recommendation: Experiment with different fruits to find your perfect combo!
This variation not only adds sweetness but also boosts the fiber content, making it a heart-healthy option. Check out our friends at Nutrition.gov for tips on incorporating more fruits into your diet.
Whether you’re prepping for a busy week or just need a snack, these variations of cereal bars can bring joy and healthiness into your daily routine!
Cooking Tips and Notes for Homemade Cereal Bars
The right way to store your cereal bars
To keep your homemade cereal bars fresh and delicious, store them in an airtight container at room temperature. If you want to prolong their shelf life, consider refrigerating them. For extra crunchiness, wrap them in parchment paper before placing them in a container. They can last up to a week at room temperature or even longer if refrigerated! Just remember to separate layers with parchment paper to avoid sticking.
How to achieve the best texture and flavor
Getting the perfect texture and flavor in your cereal bars is all about balancing ingredients. Use a mix of chewy and crunchy elements—think oats, nuts, and dried fruits. For a hint of sweetness, drizzle in some honey or maple syrup. If you enjoy a touch of spice, a dash of cinnamon can elevate your bars tremendously.
Also, let your mixture cool slightly before pressing it into the pan. This will help the bars hold their shape better. If you’re looking for flavor inspiration, check out this resource on healthy snack ideas here. Happy cooking!
Serving Suggestions for Homemade Cereal Bars
Creative Ways to Serve Cereal Bars
Homemade cereal bars can be a delightful treat that goes beyond the ordinary snack. For an elevated experience, consider:
- Slicing them into bite-sized pieces: This is perfect for a light, shareable option at gatherings or when enjoying a cozy movie night.
- Layering with yogurt: Imagine the creamy goodness of Greek yogurt topped with crumbled cereal bars. It’s a delicious breakfast bowl or a quick snack.
- Melting chocolate over them: Melt some dark chocolate and drizzle it for a decadent touch. This adds a nice contrast of flavors while keeping the bars enjoyable.
Ideal Pairings with Drinks or Dips
Now, what would pair well with your homemade cereal bars? Here are some great ideas:
- Refreshing smoothies: Fruit smoothies or protein shakes complement the chewy texture of the bars wonderfully. Try a banana-strawberry blend to keep it fruity and fun!
- Nut butter dips: Serve your cereal bars with a side of almond or peanut butter for a protein boost. This combination also adds a satisfying crunch.
- Coconut water: A light and hydrating option, this drink will refresh and energize without overpowering the flavors of your bars.
Remember, serving your cereal bars creatively can turn a simple snack into a delightful experience. Don’t hesitate to explore different combinations that suit your taste! For some inspiration on flavor pairings, check out Food & Wine for more ideas.
Time Breakdown for Making Cereal Bars
Getting a good grasp on the time it takes to whip up delicious cereal bars can set you up for success in the kitchen. Here’s a quick breakdown to keep your cooking smooth:
Preparation Time
The first step is all about gathering ingredients and mixing everything together. You’ll need about 15-20 minutes to combine your favorite cereals, fruits, and nut butter. Having everything prepped makes the rest of the process a breeze!
Cooling Time
Once your mixture is spread out in a pan, it needs to cool. Give it 30-60 minutes to set properly. This step is crucial for achieving that perfect chewy texture.
Total Time
In total, you’re looking at anywhere from 45 minutes to an hour and a half. This makes it super easy to fit a homemade snack into your busy schedule. Plus, check out a fantastic resource that dives deeper into the benefits of homemade snacks like these cereal bars at Healthline.
So, are you ready to become the snack hero among your friends?
Nutritional Facts for Homemade Cereal Bars
Calories per bar
Each homemade cereal bar typically contains around 150 to 200 calories, depending on the ingredients you choose. Those on the go might find it comforting to know that these bars can provide a satisfying energy boost without the hefty calorie count often found in store-bought options.
Sugar content
When making your own cereal bars, you have the power to control sugar levels. Many recipes can be tweaked to have as little as 5-10 grams of natural sugars per bar, especially if you opt for fruits and natural sweeteners. This means less guilt and more enjoyment when indulging in a tasty snack!
Protein information
You can expect approximately 4-6 grams of protein per bar, making it a fantastic option for a quick and nutritious pick-me-up. Incorporating elements like nuts or protein powder can enhance this value—ideal for those after a workout or during mid-afternoon slumps. For a deep dive into balancing nutrients in your snacks, explore resources like the Harvard T.H. Chan School of Public Health.
With these nutritional insights, you can customize your cereal bars to fit your health goals while enjoying every bite!
FAQs about Homemade Cereal Bars
How long do homemade cereal bars last?
Homemade cereal bars can last from one week to two weeks when stored in an airtight container at room temperature. If you want to extend their shelf life, consider refrigerating them, which can keep them fresh for up to a month. Just ensure you wrap them well to prevent moisture loss. For those looking to keep them even longer, you can freeze your cereal bars for up to three months. Just remember to separate them with parchment paper, so they don’t stick together!
Can I use different types of cereal?
Absolutely! One of the best parts about making your own cereal bars is the flexibility. Feel free to mix and match different cereals—think crunchy granola, whole grain oats, or even a fruity variety! Just be mindful of the sweetness level; some cereals are sweeter than others. A blend can create a delightful texture and flavor profile, so don’t hesitate to get creative. If you’re looking for more inspiration, check out this article on cereal varieties for homemade snacks.
What are some healthy alternatives for marshmallows?
If you’re looking to cut down on sugar or avoid marshmallows altogether, there are plenty of healthy alternatives to consider. Here are a few options:
- Nut butter: Almond or peanut butter can add creaminess while binding the ingredients together.
- Honey or maple syrup: These natural sweeteners can provide a touch of sweetness without the processed sugar.
- Chia seeds: When soaked, they can create a gel-like consistency that helps hold everything together.
With these alternatives, you can still enjoy delicious and nutritious cereal bars that fit your dietary preferences!
Conclusion on Homemade Cereal Bars
Recap of Benefits
Homemade cereal bars are a fantastic snack option that not only nourishes but also delights. With the freedom to customize ingredients, you can cater them to suit your taste and dietary needs. Packed with nutrients from oats, nuts, and dried fruits, they provide sustained energy for your busy days. Plus, making them at home is often more economical and healthier than store-bought varieties, which can be laden with sugars and preservatives.
Encouragement to Try Making Them at Home
I encourage you to roll up your sleeves and try your hand at crafting these delicious bars. The process is both fun and rewarding, allowing you to experiment with flavors and textures. Not convinced? Consider this: your kitchen will soon smell divine, and you’ll have a wholesome snack ready in no time. For tips and tricks, visit Healthline for nutrient insights or get inspired by various recipes on BBC Good Food to find your perfect cereal bars!
PrintCereal Bars Made Easy: Delicious Snacks You’ll Love
Enjoy easy-to-make cereal bars that are perfect for a quick snack!
- Prep Time: 10 minutes
- Cook Time: 25 minutes
- Total Time: 35 minutes
- Yield: 12 bars
- Category: Snacks
- Method: Baking
- Cuisine: American
- Diet: Vegetarian
Ingredients
- 2 cups rolled oats
- 1 cup honey
- 1/2 cup peanut butter
- 1/2 cup chocolate chips
- 1/2 cup dried fruits
Instructions
- Preheat your oven to 350°F (175°C).
- In a large bowl, mix the rolled oats, honey, and peanut butter until well combined.
- Add chocolate chips and dried fruits, and stir.
- Spread the mixture into a greased baking pan.
- Bake for 20-25 minutes until golden brown.
- Let cool before cutting into bars.
Notes
- For extra flavor, consider adding nuts or seeds.
- These bars can be stored in an airtight container.
Nutrition
- Serving Size: 1 bar
- Calories: 150
- Sugar: 10g
- Sodium: 50mg
- Fat: 6g
- Saturated Fat: 2g
- Unsaturated Fat: 3g
- Trans Fat: 0g
- Carbohydrates: 22g
- Fiber: 3g
- Protein: 4g
- Cholesterol: 0mg