Introduction to Cherry Pie Bars
Why Cherry Pie Bars Are a Delightful Alternative
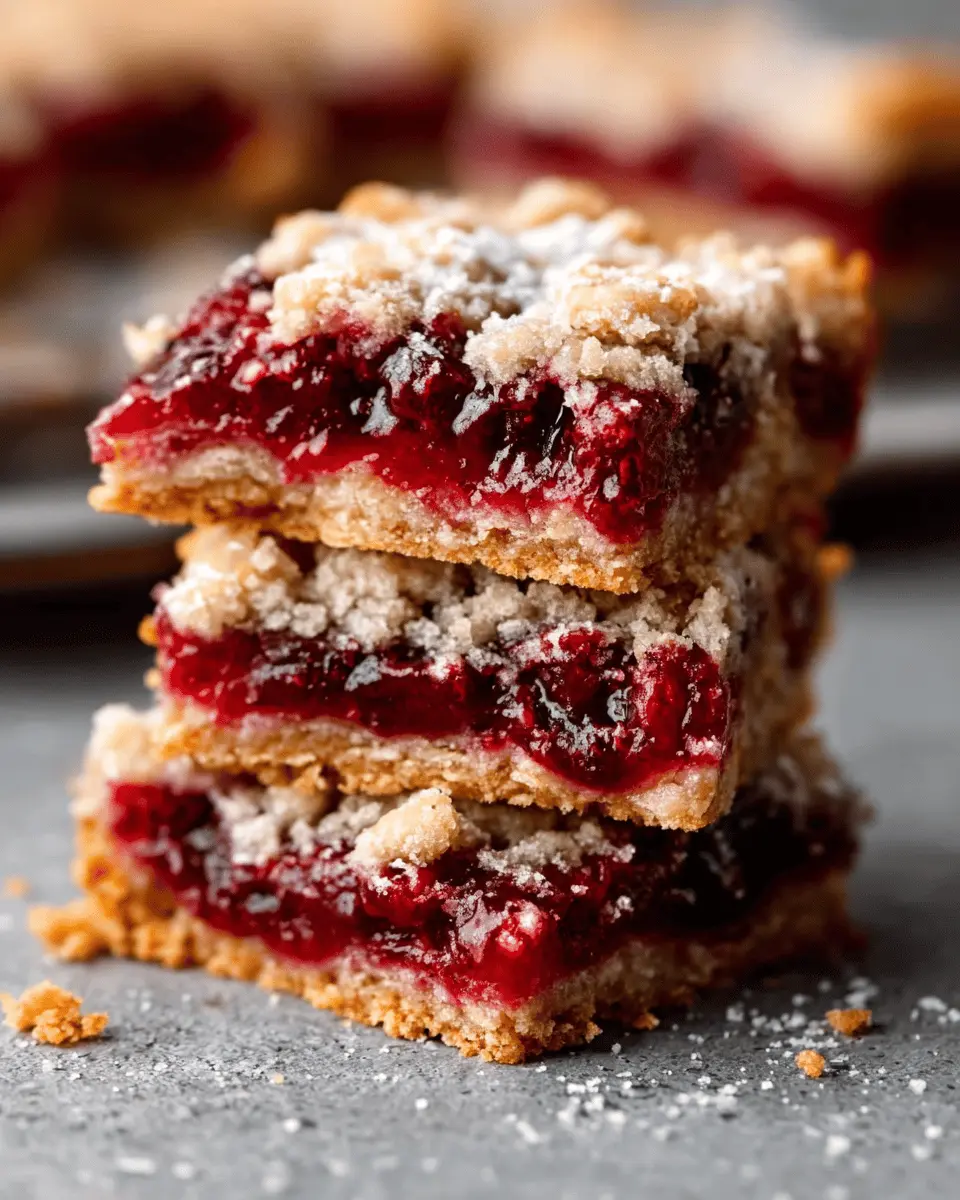
If you’re a fan of sweet and tart desserts, you may want to consider making cherry pie bars your next indulgence. These bars are an excellent alternative to traditional cherry pie for several reasons. First off, they are incredibly easy to make. Unlike pie, there’s no need for fancy crimping or a time-consuming crust preparation. Simply mix, pour, and bake! This makes them perfect for busy young professionals who want to whip up something delicious without spending their entire weekend in the kitchen.
Cherry pie bars also allow for a more shareable experience. While a pie may require slicing that can sometimes get messy, bars offer the convenience of cut-and-go servings. They’re ideal for potlucks, picnics, or simply having around the house as a treat after a long day at work. According to a study by the American Pie Council, 90% of Americans enjoy desserts made with fruit, and cherry is right up there as one of the most popular flavors.
Beyond taste, cherry pie bars can be a nourishing option. Cherries are packed with antioxidants and have been linked to numerous health benefits, including improved sleep and reduced inflammation. When you make your bars from scratch, you control the ingredients, which can lead to a guilt-free indulgence. You could even add some oats for a bit of extra fiber, or swap in healthier sweeteners for a lighter dessert option.
If you’re wondering how to elevate your cherry pie bars, consider pairing them with a scoop of vanilla ice cream or a dollop of whipped cream. These toppings add a delightful creaminess that balances the tartness of the cherries.
So why not give cherry pie bars a try? Whether you’re hosting a gathering or just want a sweet treat to enjoy on a cozy evening, these bars are sure to become a new favorite. With a little creativity, you can make them your own and impress your friends while bringing a taste of summer to your dessert table. Check out the full recipe for cherry pie bars in the section below!
Ingredients for Cherry Pie Bars
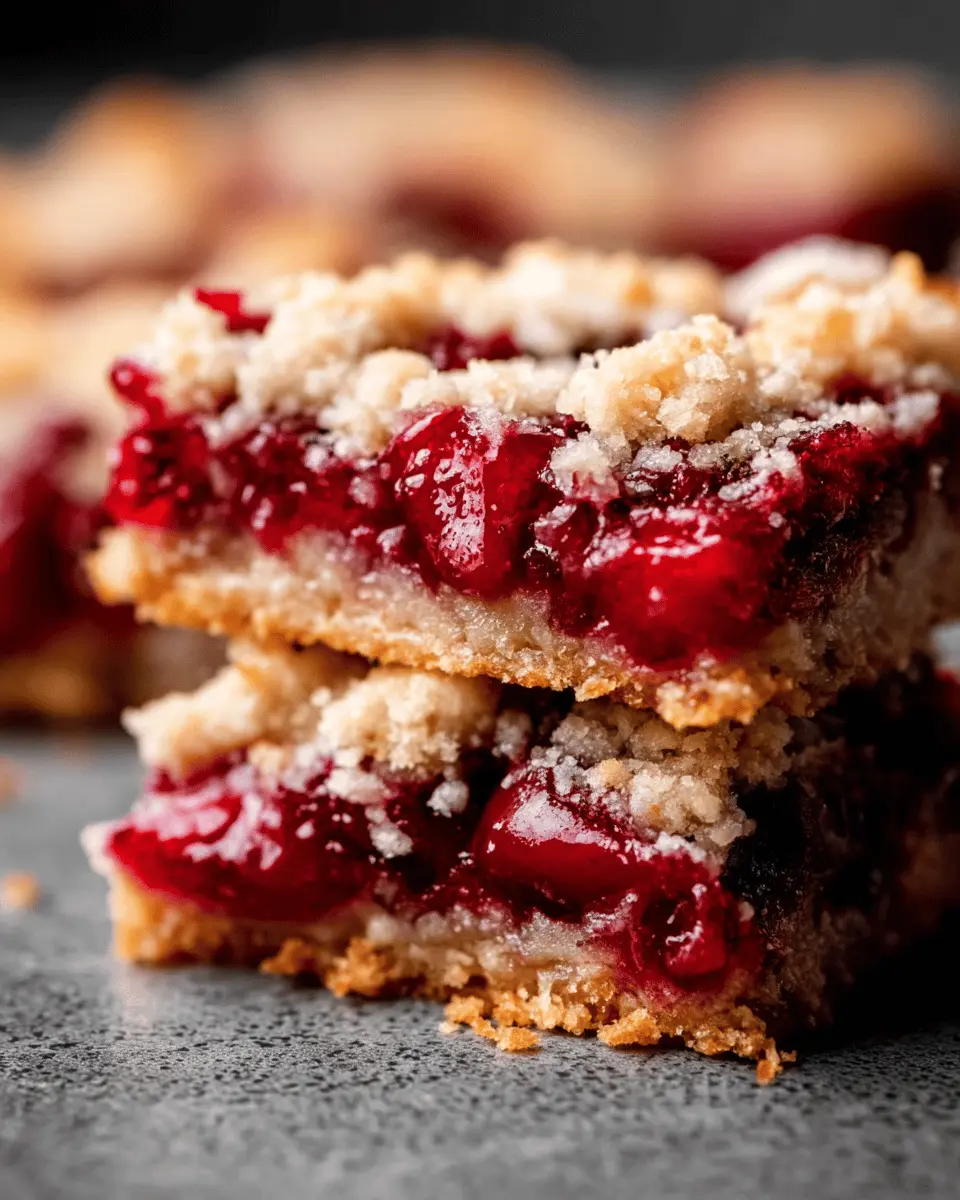
When it comes to baking cherry pie bars, the right ingredients make all the difference. This delightful treat combines the sweetness of cherries with a buttery crust, creating a dessert that’s perfect for any occasion. Here’s what you’ll need to whip up these tasty bars:
Essential Ingredients
- Fresh or Frozen Cherries: About 2 cups. If you’re using frozen, let them thaw first for better texture.
- Granulated Sugar: ¾ cup, to balance the tartness of the cherries.
- All-Purpose Flour: 1 ½ cups, for that perfect, crumbly crust.
- Unsalted Butter: ½ cup, melted to create a rich flavor; you can substitute with plant-based butter for a vegan option.
- Eggs: 2 large, to help bind everything together.
- Baking Powder: 1 teaspoon, to give your bars that lovely rise.
- Vanilla Extract: 1 teaspoon, adding a hint of warmth to the cherry filling.
- Salt: A pinch, to enhance all the flavors.
Pro Tips for Success
To elevate your cherry pie bars, consider adding a dash of almond extract for a nutty flavor or a sprinkle of lemon zest for brightness. These tweaks can take your dessert from good to unforgettable!
Are you ready to dive into the delightful world of baking? You can find more tips on baking with cherries at Serious Eats and explore how to perfect your pie crust at King Arthur Baking.
Now, gather your ingredients, and let’s get started on these delicious cherry pie bars!
Step-by-step Preparation for Cherry Pie Bars
Making cherry pie bars is a delightful way to satisfy your sweet tooth, and they’re surprisingly easy to whip up! Get ready to embrace complex flavors and textures that will make your kitchen smell heavenly. Let’s break down the steps to create these delicious treats, ensuring every detail is clear and easy to follow.
Gather your ingredients
Before diving into the baking process, take a moment to collect all your ingredients. This ensures that you won’t be scrambling mid-recipe. Here’s what you’ll need:
- 1 cup unsalted butter, softened
- 1 cup granulated sugar
- 2 large eggs
- 1 teaspoon vanilla extract
- 1 teaspoon almond extract
- 2 cups all-purpose flour
- 1/2 teaspoon salt
- 1 can (21 ounces) cherry pie filling
- 1 cup oatmeal
- 1/2 cup brown sugar
- 1 teaspoon cinnamon
- Optional: powdered sugar for glazing
Cream together butter and sugar
Now that you have everything in place, it’s time to cream together the butter and sugar. In a large mixing bowl, beat the softened butter and granulated sugar with an electric mixer on medium speed until the mixture is light and fluffy. This should take about 3 to 5 minutes. The more air you incorporate, the fluffier your cherry pie bars will be!
Incorporate eggs and extracts
Next, add in the eggs—be sure to crack them into a separate bowl first to avoid any shell mishaps—and your extracts. Mix everything until just combined. The vanilla and almond extracts will add that wonderful aromatic touch that makes these bars unforgettable.
Mix in flour and salt
It’s time to get a bit messy! Gradually add the flour and salt to your creamy mixture. I suggest mixing it on low speed to prevent flour clouds and to keep your mixing bowl cleaner. Stop mixing just as the flour disappears; an overmixed dough can lead to tough bars.
Prepare the crust
Once your dough is mixed, it’s ready to be spread into a greased 9×13-inch baking pan. Use a spatula to level it out evenly, creating a firm foundation for your cherry pie filling. Then, pop it in the oven at 350°F (175°C) for about 10-12 minutes, just until it begins to lightly brown.
Add cherry pie filling
Take the partially baked crust out of the oven and carefully pour the cherry pie filling over the base. Spread it out evenly across the surface. You can use a homemade cherry filling if you prefer — it just takes a bit more time but offers a wonderful fresh taste.
Create the streusel topping
In a separate bowl, combine the oatmeal, brown sugar, cinnamon, and a bit more flour to form a streusel topping. Cut in a bit of cold butter until it resembles coarse crumbs. Sprinkle this mixture generously over the cherry filling for a delightful crunch.
Bake your bars
Return your prepared pan to the oven for an additional 25-30 minutes. The topping should be golden brown, and the cherry filling will bubble slightly, giving you those lovely pie-like vibes. Your kitchen will smell incredible!
Make the glaze
While your cherry pie bars bake, you can whip up a simple glaze to drizzle over them. Just mix powdered sugar with a little water or milk until it achieves a drizzle-able consistency. Once the bars have cooled, drizzle the glaze over the top, making them look as good as they taste.
Ready to impress friends or make a sweet statement in your week? These cherry pie bars are the perfect blend of fruity and sweet, making them a versatile treat for any occasion. Embrace your inner baker, and enjoy every bite!
Variations on Cherry Pie Bars
Almond Cherry Pie Bars
If you’re a fan of cherry pie bars but want to mix things up, try adding a delightful twist with almond extract. By simply replacing half of the vanilla extract in your recipe with almond extract, you create a flavor profile that’s both unique and comforting. The nuttiness of almond works wonderfully with the tartness of cherries, resulting in a bar that’s simply irresistible.
To whip up these almond cherry delights:
- Use almond-flavored crust
- Top with sliced almonds for extra crunch
- Drizzle with a light almond glaze before serving
This variation is perfect for gatherings, as it offers guests a fresh spin on a classic treat. Think about pairing it with a scoop of vanilla ice cream for a delectable dessert experience. You can find more tips on how flavor profiles work together at Serious Eats.
Berry Mix Cherry Pie Bars
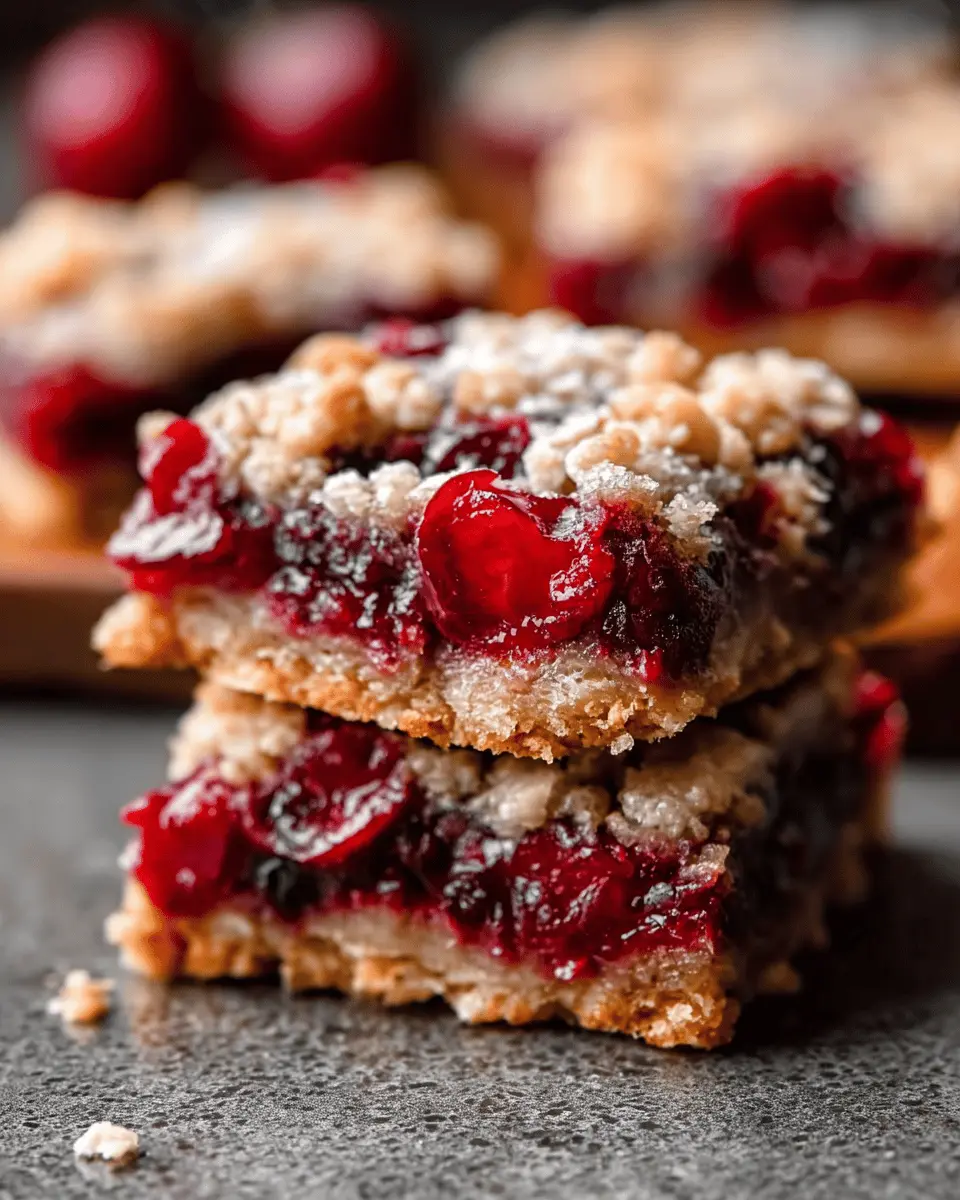
Why not indulge in a fruity fusion? Combining cherries with a mix of berries can elevate your cherry pie bars to the next level. Toss in some raspberries, blueberries, or strawberries to enrich each bite with extra flavor and color. The vibrant mix adds not just taste, but also visual appeal — perfect for when you want to impress during your next brunch!
Here’s how to create these berry-infused bars:
- Mix fresh or frozen berries with cherries
- Substitute some of the cherry filling with your choice of berries
- Top with a sprinkle of cinnamon to complement the flavors
This berry mix gives a tangy twist and can easily be customized based on what’s in season. It’s not only delicious but also packed with antioxidants! Consider checking out resources like Healthline for more on the health benefits of berries.
By experimenting with these variations, you can keep your cherry pie bars exciting while catering to different tastes. Happy baking!
Cooking Tips and Notes for Cherry Pie Bars
When you set out to make delicious cherry pie bars, there are a few key tips that can elevate your baking game. Here’s what I’ve learned along the way!
Choose the Right Cherries
Fresh or frozen cherries? It depends on what’s in season! If you opt for frozen, remember to drain them well to avoid a soggy crust. Grab some tart cherries for that authentic pie taste, but don’t shy away from sweet varieties if that’s your preference!
Perfect Your Crust
A flaky, buttery crust is essential for cherry pie bars. Make sure your ingredients, especially the butter, are cold. Use a pastry cutter or your hands to mix until the texture resembles coarse crumbs. For a unique twist, consider adding a bit of almond extract to your dough for added flavor!
Mind the Bake Time
Every oven is different, so keep an eye on your bars. You want a golden-brown top, but make sure the filling is bubbling—that’s a sign of deliciousness! If you notice that the edges are browning too quickly, cover them with foil.
Let Them Cool
Patience is key! After baking, allow your cherry pie bars to cool completely before cutting. This lets the filling set, making for neater slices. Plus, the flavors meld beautifully while cooling—a win-win!
For more baking insights, check out King Arthur Baking for expert tips!
Serving Suggestions for Cherry Pie Bars
When it comes to enjoying cherry pie bars, the right accompaniments can elevate the experience. Here are some tried-and-true serving suggestions that won’t just tantalize your taste buds, but will also impress your friends during those cozy get-togethers.
A La Mode Delight
One of the best ways to enjoy cherry pie bars is with a scoop of vanilla ice cream on top. The creamy texture of the ice cream balances the tartness of the cherries perfectly. If you’re feeling adventurous, try adding a drizzle of chocolate sauce or caramel for an extra layer of flavor. For an alternative, coconut whipped cream can give you that dairy-free richness!
Pairing with Beverages
While cherry pie bars are naturally sweet, pairing them with a refreshing beverage can enhance the flavors. Consider serving them with iced tea infused with lemon or a sparkling soda. These drinks complement the pie bars without overwhelming their taste. You might even experiment with a refreshing herbal tea, like chamomile or peppermint.
Snack Board Collaboration
Why not create a vibrant dessert board? Combine cherry pie bars with fresh fruits, nuts, and various cheeses. This mix not only looks appealing but also offers a nice contrast of textures and flavors. A well-balanced board can turn dessert into a delightful centerpiece, making your gathering both delicious and visually stunning.
For more tips on presenting desserts beautifully, check out this guide on dessert boards.
Time Breakdown for Cherry Pie Bars
Preparation time
The preparation for your cherry pie bars is quick and easy, taking about 20-25 minutes. You’ll want to gather all your ingredients first, including ripe cherries, flour, and sugar. Prepping your workspace will make everything smoother, ensuring those juicy cherries shine in your final creation.
Cooking time
Once you’re ready to bake, the cooking time for these delightful bars is around 30-35 minutes. During this time, your kitchen will fill with the enticing aroma of cherries and buttery crust, making it hard to resist sneaking a taste!
Total time
In total, you’re looking at about 50-60 minutes from start to finish. It’s a small investment for a treat that’s perfect for summer picnics or a cozy dessert night. Plus, once you master these cherry pie bars, you can experiment with other flavors! For more tips on baking basics, check out resources from the Joy of Baking.
Isn’t it great when something so delicious can come together in just about an hour? Happy baking!
Nutritional Facts for Cherry Pie Bars
When you’re indulging in delicious cherry pie bars, it’s helpful to know what’s in your treat! Here’s a quick breakdown of their nutritional values.
Calories
A serving of cherry pie bars typically has around 200 calories. Depending on the recipe or portion size, this can vary slightly, so keep that in mind when you’re enjoying your dessert.
Total Fat
Expect about 8 grams of total fat per serving, primarily from the buttery crust. While some fat is necessary for flavor and texture, be mindful of your overall intake.
Sugar
With approximately 12 grams of sugar per serving, these bars definitely satisfy your sweet tooth! However, consider complementing them with fresh fruits or nuts to balance the sweetness.
For more details on healthy dessert options, check out this article on sugar alternatives. Balancing treats with healthier choices can keep your diet on track!
FAQs about Cherry Pie Bars
Can I use fresh cherries instead of pie filling?
Absolutely! Using fresh cherries in your cherry pie bars can elevate the dish to a whole new level. Choose ripe, sweet cherries, and be sure to pit and slice them before adding to your recipe. You might want to toss them in a bit of sugar and cornstarch to help create that delicious, gooey filling characteristic of traditional cherry pie. This not only enhances their sweetness but also helps thicken the juices for a more satisfying bite.
How do I store leftover cherry pie bars?
If you find yourself with leftovers (which can be hard to believe once you taste them), it’s best to store your cherry pie bars in an airtight container. They can be kept at room temperature for a couple of days, but for longer storage, try refrigerating them. They’ll stay fresh for about a week. Just make sure to separate layers with parchment paper to prevent sticking!
Can I freeze cherry pie bars?
Yes, freezing is a great option if you want to enjoy your cherry pie bars later! Let them cool completely, then wrap tightly in plastic wrap and place them in an airtight container or heavy-duty freezer bag. They can be frozen for up to three months. When you’re ready to savor them, simply thaw in the refrigerator overnight and enjoy at room temperature or warmed up for that straight-from-the-oven experience.
For more storage tips, check out articles from the National Center for Home Food Preservation to ensure your treats stay delicious!
Conclusion on Cherry Pie Bars
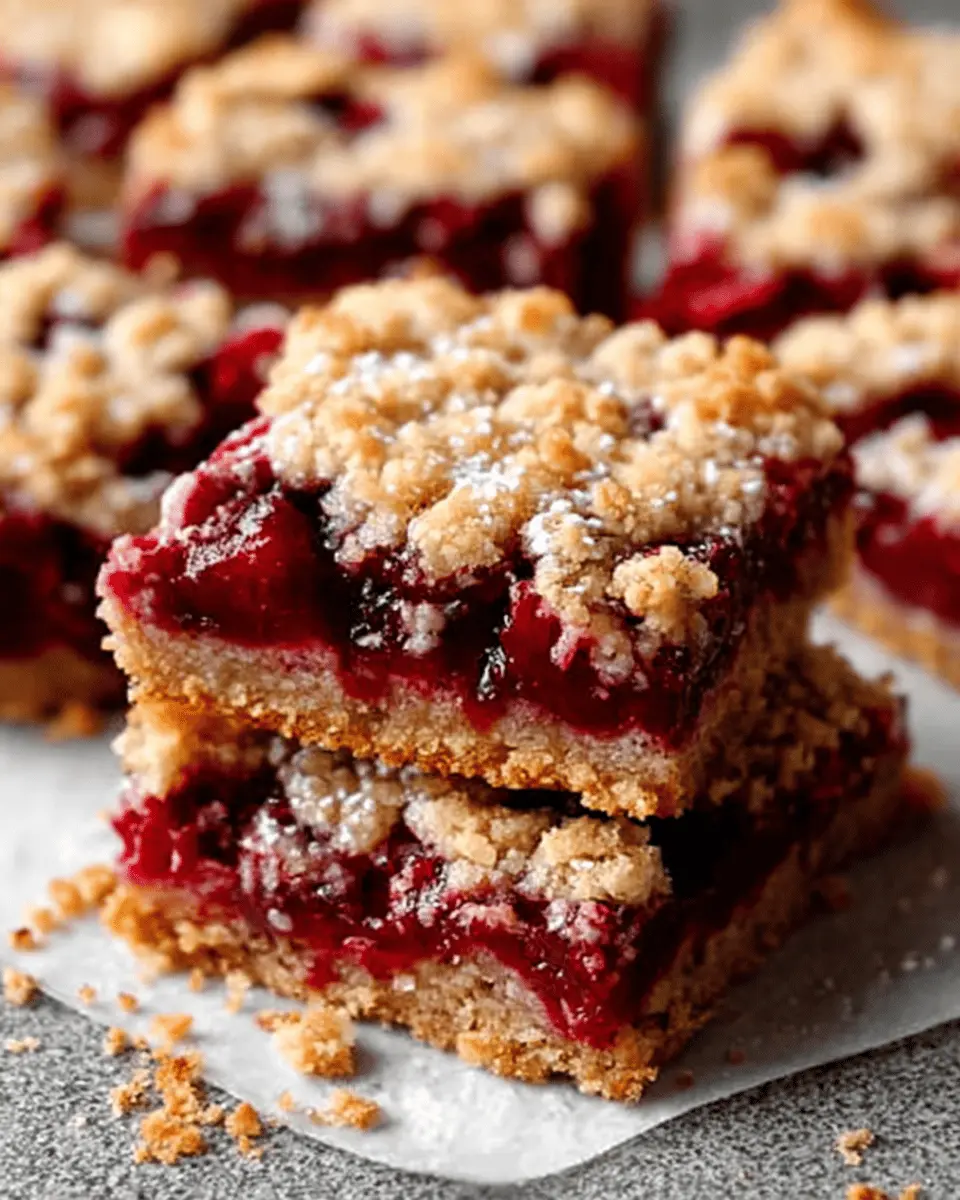
In summary, cherry pie bars are a delightful twist on the classic cherry pie that offers both convenience and flavor. These bars are perfect for gatherings, picnics, or simply satisfying your sweet tooth at home.
The best part? They can be prepped ahead of time and stored for later enjoyment, making them a fantastic dessert option for busy young professionals. Whether you are serving them warm with a scoop of ice cream or enjoying them cold, their cherry filling and buttery crust are sure to impress.
So why not give these cherry pie bars a try? You might just find your new favorite dessert! For more baking inspiration, check out The Kitchn for tips and recipes to elevate your dessert game.
PrintCherry Pie Bars: Easy, Indulgent Treat for Any Occasion
Delicious Cherry Pie Bars that are easy to make and perfect for any occasion. A wonderful blend of cherry filling and a buttery crust.
- Prep Time: 15 minutes
- Cook Time: 35 minutes
- Total Time: 50 minutes
- Yield: 16 bars
- Category: Dessert
- Method: Baking
- Cuisine: American
- Diet: Vegetarian
Ingredients
- 1 cup all-purpose flour
- 1/2 cup unsalted butter
- 1/4 cup granulated sugar
- 1 can cherry pie filling
- 1 teaspoon vanilla extract
- 1/2 teaspoon almond extract
Instructions
- Preheat your oven to 350°F (175°C).
- In a mixing bowl, combine flour, butter, and sugar until crumbly.
- Press half of the mixture into the bottom of a greased baking dish.
- Spread the cherry pie filling over the crust.
- Sprinkle the remaining crumb mixture over the cherry filling.
- Bake for 30-35 minutes until golden brown.
- Allow to cool before cutting into bars.
Notes
- For extra flavor, add a pinch of salt to the crust mixture.
- Serve with whipped cream or a scoop of vanilla ice cream.
Nutrition
- Serving Size: 1 bar
- Calories: 180
- Sugar: 12g
- Sodium: 50mg
- Fat: 8g
- Saturated Fat: 5g
- Unsaturated Fat: 2g
- Trans Fat: 0g
- Carbohydrates: 24g
- Fiber: 1g
- Protein: 2g
- Cholesterol: 20mg