Introduction to Cookies and Cream Cake
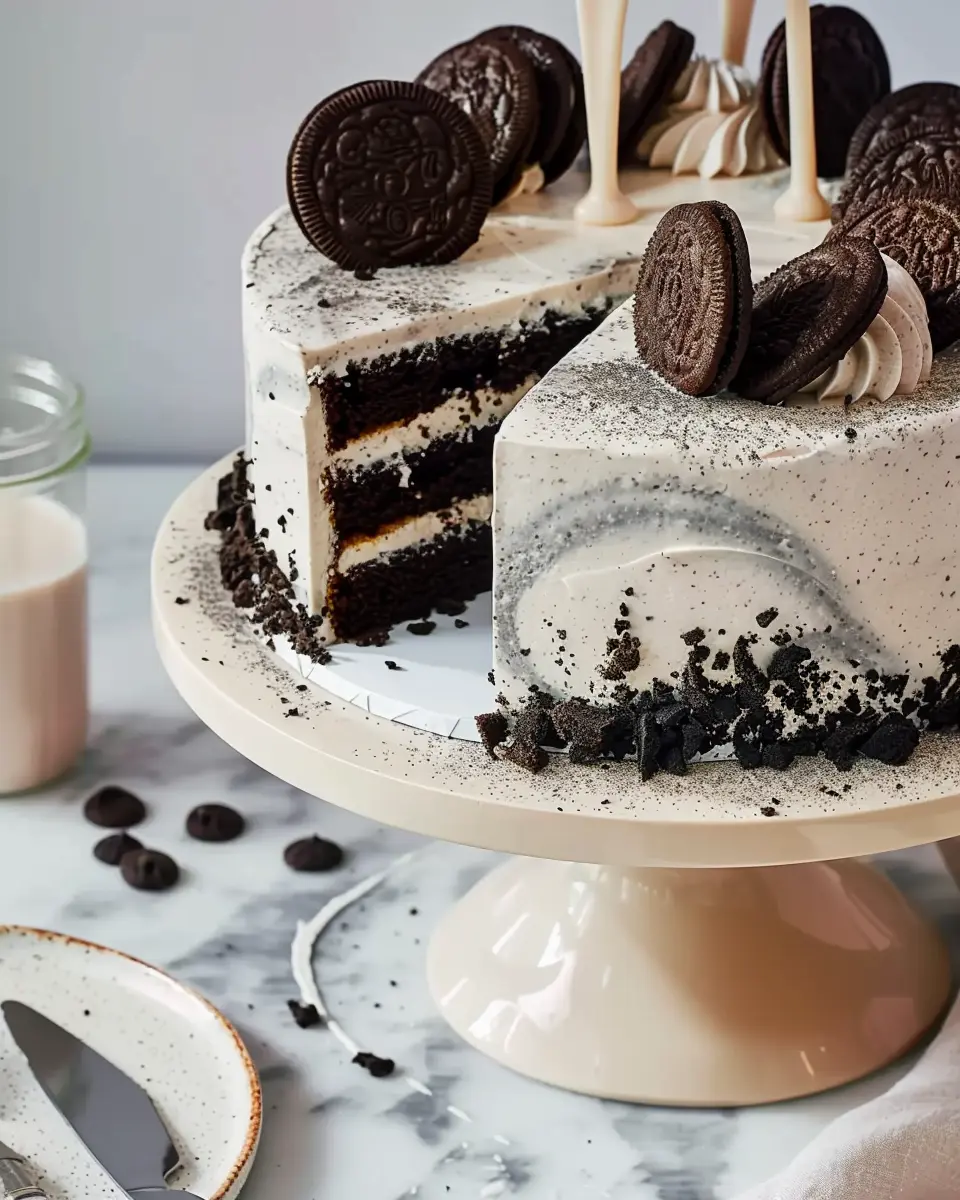
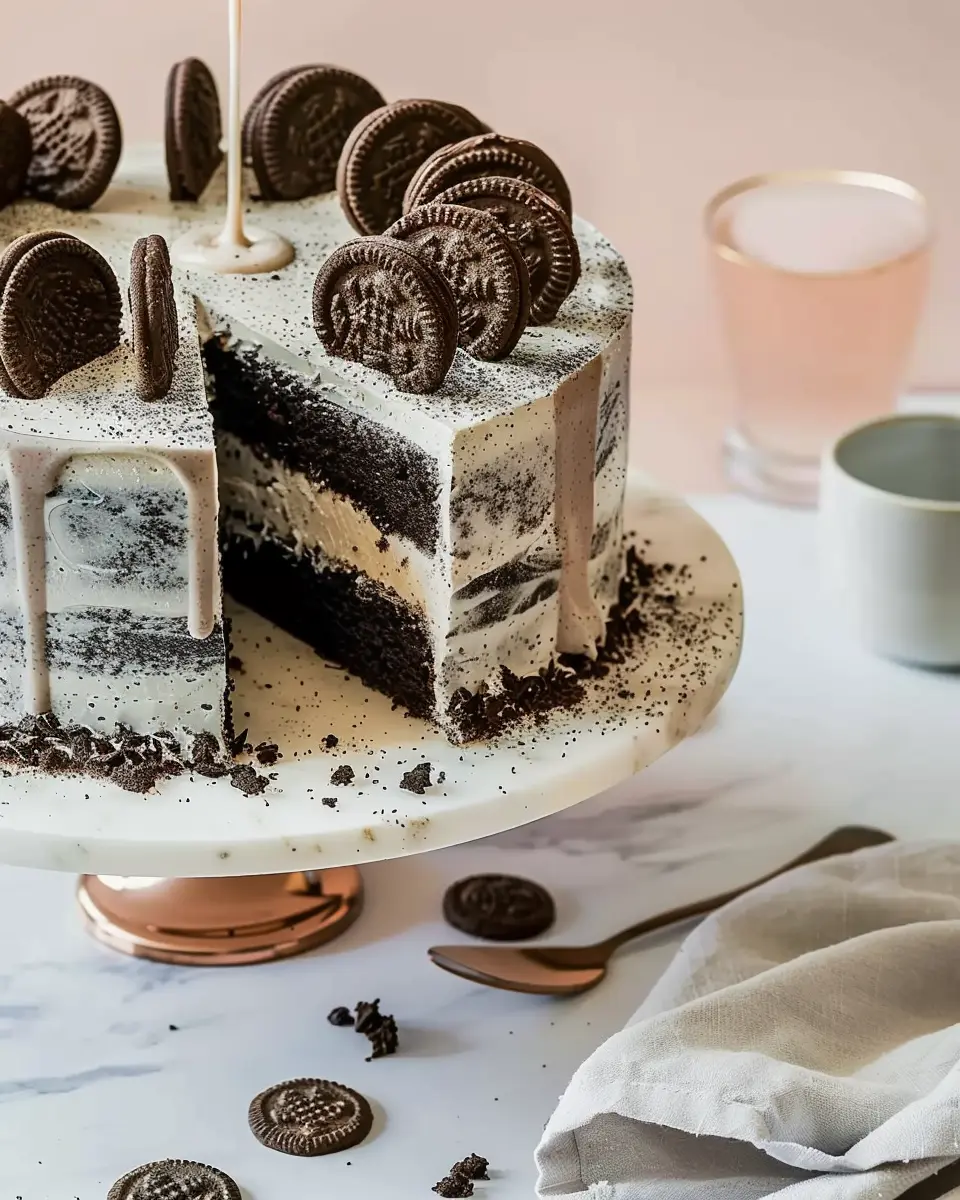
Ah, the delightful Cookies and Cream Cake! If you haven’t tried this cake yet, you’re truly missing out. For young professionals, juggling work, life, and everything in between, this cake is not only a treat; it’s an experience. Imagine digging into a slice of fluffy, rich cake, interspersed with crunchy cookie bits and crowned with a creamy frosting. It’s the ultimate comfort dessert to celebrate both small victories and big achievements.
Why Cookies and Cream Cake is a Must-Try for Young Professionals
As busy individuals aged 25 to 35, we often find ourselves in need of a quick yet indulgent treat. The Cookies and Cream Cake is perfect because it brings together the best of both worlds: ease of preparation and flavor that transports you back to your childhood! And let’s be honest, who wouldn’t want to relish a childhood favorite while sipping a warm cup of coffee after a long day at work?
Did you know? Studies suggest that comfort food, like a decadent slice of cookies and cream cake, can actually improve mood and increase overall happiness. According to The Food Psychology Lab, treating yourself occasionally can reduce stress and boost productivity. So go ahead, slice yourself a piece—you deserve it!
Here are some compelling reasons why this cake should take center stage on your dessert table:
- Simplicity: The recipe is straightforward, requiring just a handful of ingredients. Perfect for those new to baking!
- Visual Appeal: With its contrasting colors and textures, the Cookies and Cream Cake is a feast for the eyes. You can impress friends at gatherings with minimal effort.
- Versatile: Whether it’s a birthday, an office celebration, or just a cozy night in, this cake fits every occasion.
So, why wait? Dive into the delightful world of cookies and cream and elevate your dessert game! Your future self will thank you for bringing a little joy into your busy life. Get ready to whip up a masterpiece that will leave an impression not just flavor-wise, but in the hearts of those who share it with you.
Now, let’s get started on the recipe that will bring this mouthwatering cake to life!
Ingredients for Cookies and Cream Cake
When it comes to baking a delightful Cookies and Cream Cake, the magic lies in the right blend of ingredients. Here’s a breakdown of what you’ll need.
Essential Ingredients for the Cake
For the base of your cake, you’ll want to gather:
- All-purpose flour: 2 cups for a fluffy texture.
- Granulated sugar: 1 ¾ cups to add sweetness.
- Cocoa powder: ¾ cup will give that rich chocolate flavor.
- Baking soda & baking powder: Essential for leavening.
- Eggs: 3 large ones for binding.
- Buttermilk: 1 cup ensures moisture.
- Vegetable oil: ½ cup for a tender crumb.
- Vanilla extract: 2 teaspoons enhances flavor.
- Crushed chocolate sandwich cookies: 1 cup for that iconic crunch.
Curious about substitutions? Check out this article on baking alternatives.
Key Ingredients for the Buttercream
The luscious buttercream takes this cake to the next level:
- Unsalted butter: 1 cup, softened for the creamiest texture.
- Powdered sugar: 4 cups for the perfect sweetness.
- Heavy cream: 2 tablespoons for a silky finish.
- Vanilla extract: 1 teaspoon to tie all the flavors together.
- Crushed cookies: Another ½ cup for topping and mixing.
With these simple yet essential ingredients, you’ll be well on your way to creating an unforgettable Cookies and Cream Cake that friends and family will adore. Sprinkle in a little love, and enjoy!
Step-by-Step Preparation of Cookies and Cream Cake
Creating a delectable Cookies and Cream Cake is a delightful way to treat yourself, and it’s easier than you might think! Let’s break down each step to ensure your cake turns out perfectly fluffy and delicious.
Prepare the Pans
Start by preheating your oven to 350°F (175°C). While the oven heats, you’ll want to prepare your cake pans. Grab two 9-inch round cake pans and grease them with butter or a non-stick spray. For added assurance that your cake won’t stick, you can dust the pans with a bit of flour. This simple step sets the stage for easy cake removal once they’re baked!
Make the Cake Layers
In a large mixing bowl, combine the essential ingredients for your cake layers: all-purpose flour, baking powder, sugar, and a pinch of salt. In a separate bowl, blend your wet ingredients—eggs, milk, vanilla extract, and softened butter—until well combined. Slowly add the wet mixture to the dry ingredients, mixing until smooth. Be careful not to overmix; a few lumps are perfectly fine!
Add Batter to Pans
Now comes the fun part! With your batter ready, divide it evenly between the two prepared pans. You can use a measuring cup or a ladle for precision. Once each pan is filled, gently tap them on the countertop to eliminate any air bubbles, which can cause your cake to rise unevenly.
Bake the Cake Layers
Place the prepared pans in the preheated oven. Bake for approximately 25-30 minutes, or until the edges are light golden brown and a toothpick inserted in the center comes out clean. The delightful aroma wafting from your oven is an exciting sign of deliciousness about to come!
Boil Sugar Mixture for Frosting
While your cake layers are in the oven, it’s time to prepare the frosting. In a small saucepan, combine granulated sugar and water, placing it over medium heat. Stir until the sugar is completely dissolved, then bring the mixture to a gentle boil. Keep an eye on it, as you don’t want it to caramelize.
Add Sugar Syrup to Egg Whites
In a mixing bowl, beat the egg whites until they reach soft peaks. Once your sugar syrup reaches a temperature of 240°F (115°C), carefully pour it into the whipped egg whites in a thin stream while the mixer is running. This step creates a fluffy meringue base for your frosting.
Incorporate Butter into Egg Whites
Once the meringue cools to room temperature, add in your softened butter gradually. Mix until the frosting is creamy and well combined. This is where the magic happens; your luxurious frosting for the Cookies and Cream Cake comes to life!
Make the Crumb Coat
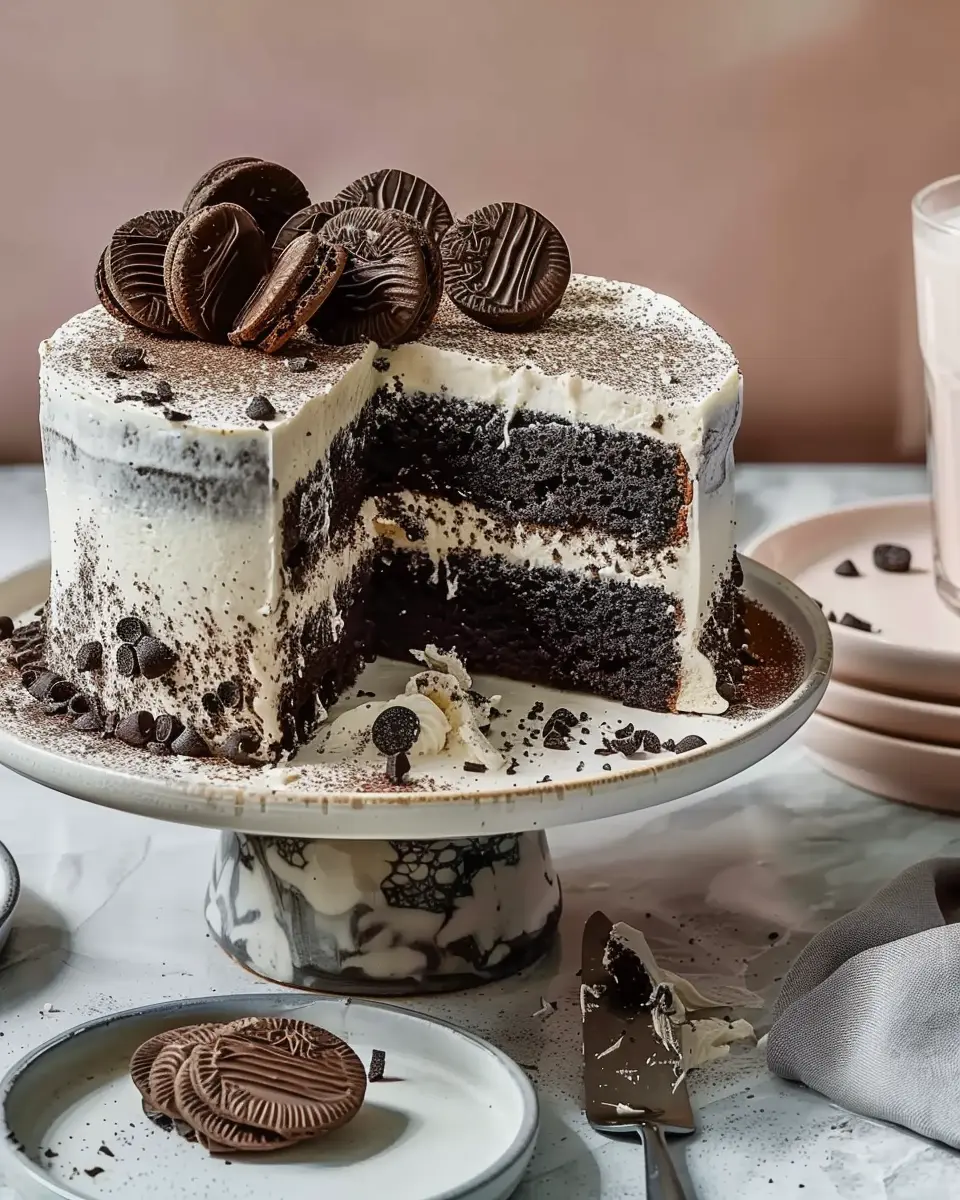
After the cakes have cooled completely, it’s time to apply the crumb coat. Place one layer of the cake on your serving platter and spread a thin layer of frosting on top. Then, carefully place the second layer on top, ensuring it’s centered. Use more frosting to cover the sides and the top fully. The crumb coat helps catch any loose crumbs, giving you a smooth finish for the final layer of frosting.
Finish Frosting the Cake
Once the crumb coat is set, apply the final generous layer of frosting all around. Use a spatula or cake scraper to create smooth, beautiful edges. Don’t worry if it’s not perfect—homemade charm is what it’s all about!
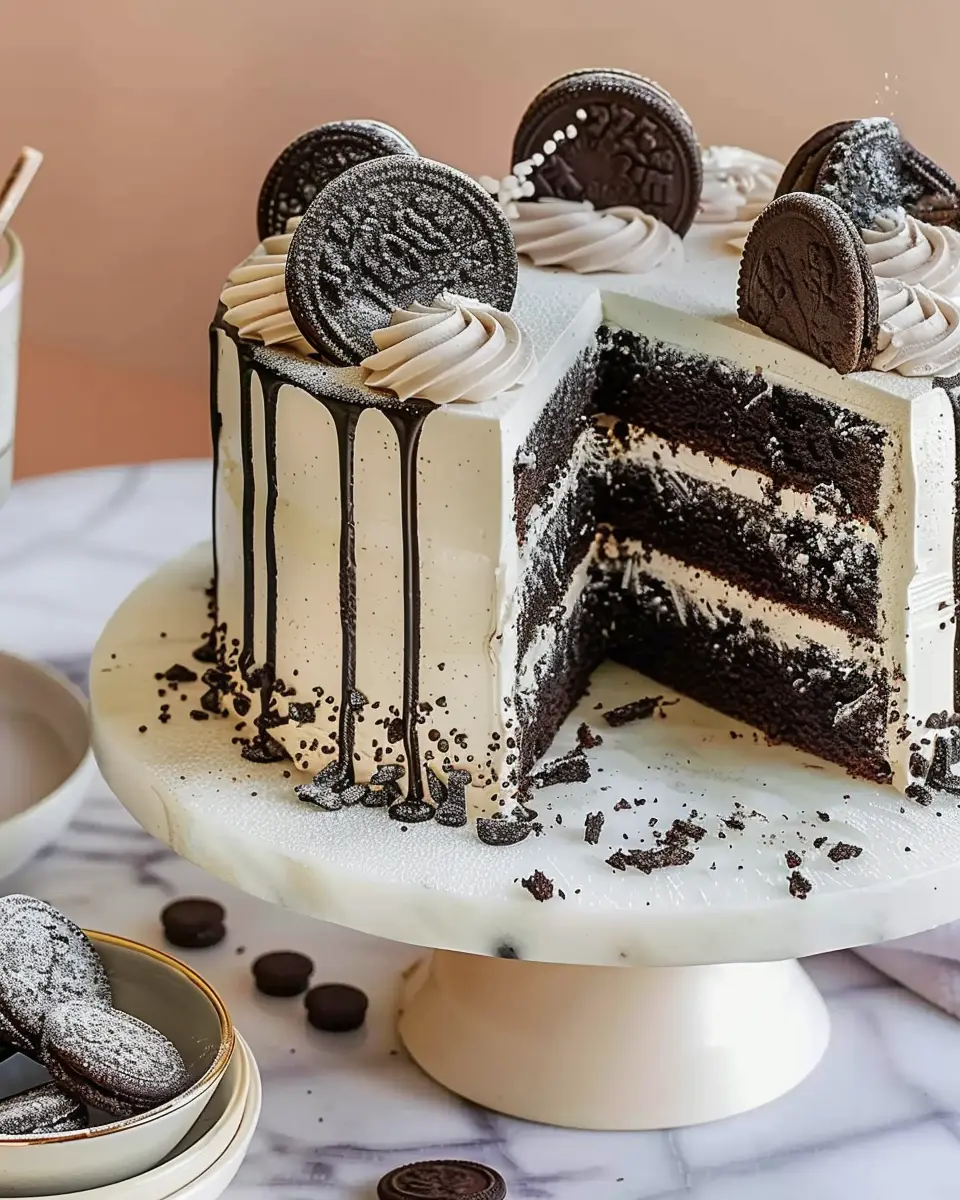
Garnish the Cake with Cookies
Finally, to make your Cookies and Cream Cake truly spectacular, crush some Oreos or your favorite chocolate cookies and sprinkle them over the top and sides of the cake. Not only does this add texture and flavor, but it also gives an appetizing look.
Now, step back and admire your creation! Slice into your Cookies and Cream Cake, serve, and enjoy the smiles all around. For more cake inspiration, check out this article on cake baking tips or dive into the world of baking with these amazing recipes. Happy baking!
Variations on Cookies and Cream Cake
If you’re as obsessed with cookies and cream cake as I am, you’re in for a treat. Let’s dive into some delicious variations that will elevate your baking game!
No-Bake Cookies and Cream Cake
Life can get busy, and sometimes, you just don’t have the time to bake. Enter the no-bake cookies and cream cake! This dessert is not only quick to prepare but also decadent.
- Key Ingredients: Use crushed chocolate cookies, cream cheese, and whipped cream for that luscious texture.
- Preparation: Layer your ingredients in a springform pan and refrigerate for a few hours.
- Tip: Drizzle some chocolate sauce over the top before serving for an extra indulgent touch!
For an easy-to-follow recipe, check out this no-bake dessert tutorial that aligns perfectly with our cookies and cream theme.
Gluten-Free Cookies and Cream Cake
Catering to dietary preferences doesn’t mean skimping on flavor, especially with a gluten-free cookies and cream cake.
- Gluten-Free Flour: Swap traditional flour for almond or coconut flour to give your cake a delightful texture.
- Binding Agents: Incorporate eggs and gluten-free baking powder to help your cake rise and fluff up nicely.
- Personal Touch: Don’t forget to add gluten-free chocolate cookies to maintain that classic cookies and cream experience.
This cake is not only suitable for gluten-sensitive friends but also a hit at any gathering. Need more tips? Check out this fascinating article on baking gluten-free.
Whichever route you take, each variation of cookies and cream cake is sure to bring smiles and delight to your table. Happy baking!
Cooking Tips and Notes for Cookies and Cream Cake
Tips for Achieving Fluffy Cake Layers
To create those light and fluffy layers in your Cookies and Cream Cake, follow these easy steps:
- Room Temperature Ingredients: Ensure your butter, eggs, and any liquid ingredients are at room temperature. This helps with emulsification and leads to a better rise.
- Don’t Overmix: When combining your dry ingredients with the wet, mix until just combined. Overmixing can result in dense layers.
- Use Cake Flour: For a fluffier texture, consider using cake flour instead of all-purpose flour. This can make a noticeable difference in your cake’s lightness.
Notes on Making the Perfect Buttercream
Buttercream can make or break your cake’s presentation and flavor. Here are some tips:
- Softened Butter: Start with butter that’s soft but not melted; this helps create that airy texture. If you’re unsure, check out this handy guide on butter temperatures.
- Gradual Sugar Addition: Add powdered sugar in increments, mixing well after each addition. This prevents a sugary cloud and ensures a smooth frosting.
- Customize Flavor: Feel free to add a splash of vanilla extract or even a hint of almond for a unique twist. Incorporate crushed cookies for texture and flavor!
With these tips, you’re well on your way to mastering a delightful Cookies and Cream Cake that’s sure to impress!
Serving Suggestions for Cookies and Cream Cake
Best Pairings with Your Cake
When enjoying your Cookies and Cream Cake, think about what flavors and textures will enhance the experience. This rich cake pairs wonderfully with:
- Fresh Berries: Strawberries or raspberries add a delightful tartness that contrasts beautifully with the sweetness of the cake.
- Ice Cream: A scoop of vanilla or cookies and cream ice cream provides an extra creamy element that fans of this flavor can’t resist.
- Whipped Cream: Light and airy whipped cream adds a lovely touch, making each slice feel indulgent.
For drinks, consider serving it with a fizzy soda or a soothing cup of herbal tea. Both options help lighten the sweetness and create a balanced dessert experience.
Creative Presentation Ideas
Elevate your Cookies and Cream Cake presentation with a few simple touches:
- Layered Display: Serve slices on a tiered stand for an elegant look that’s perfect for gatherings.
- Garnish with Crushed Cookies: Sprinkle crushed Oreo cookies over the top for an appealing visual effect that emphasizes the flavors.
- Chocolate Drizzle: A light drizzle of chocolate sauce can add flair and a rich contrast to the cake’s creamy elements.
These thoughtful touches make your cake not just tasty but also visually stunning! For more presentation techniques, check out The Kitchn’s guide.
Time Breakdown for Cookies and Cream Cake
Preparation Time
Getting started on your Cookies and Cream Cake is half the fun! Set aside about 20-30 minutes for preparation. This time includes gathering your ingredients, lining your baking pans, and mixing your batter until it’s creamy and delicious.
Baking Time
Once your cake is ready to go into the oven, you’ll need about 25-30 minutes of baking time. Keep an eye on it; every oven is different. You’ll know it’s done when a toothpick inserted into the center comes out clean.
Total Time
In total, you’re looking at approximately 1 hour of hands-on work, including prep and bake time. This Cookies and Cream Cake is not just a treat; it’s an experience! So grab a cup of coffee and enjoy the process. For more baking tips, check out great sources like King Arthur Baking for expert advice.
Nutritional Facts for Cookies and Cream Cake
When indulging in a slice of Cookies and Cream Cake, it’s important to be aware of its nutritional content to enjoy it mindfully. Let’s break down the key aspects:
Calories
This delightful cake typically contains around 350-400 calories per slice. While it’s a sweet treat, portion control can help satisfy your cravings without going overboard.
Protein Content
In terms of protein, a slice of Cookies and Cream Cake usually offers about 5-7 grams. While it’s not a primary source of protein, you can pair it with a glass of milk or a protein-rich yogurt for a better balance.
Sugar Levels
Be mindful of the sugar content, which can range from 25-30 grams per slice. If you want to reduce sugar intake, consider using a sugar substitute or a recipe with less frosting.
For more information on balanced eating, check out resources from the USDA or visit Nutrition.gov to explore healthier dessert options. Enjoy your cake while being conscious of its nutritional profile!
FAQ about Cookies and Cream Cake
How can I make my cake even more decadent?
If you’re aiming for an indulgent twist on your Cookies and Cream Cake, consider these delicious additions:
- Chocolate Ganache: Pour a rich chocolate ganache over the cake for that extra layer of luxury. Simply heat heavy cream and pour it over chopped chocolate until melted and smooth.
- Whipped Cream Topping: A dollop of homemade whipped cream infused with vanilla can add a lightness that balances the richness.
- Extra Cookies: Crush more cookies and sprinkle them on top for a delightful crunch and enhanced flavor.
For more creative ideas, check out this guide on enhancing cake experiences here.
What’s the best way to store leftover Cookies and Cream Cake?
To keep your Cookies and Cream Cake fresh, follow these simple tips:
- Refrigeration: Place the leftover slices in an airtight container and store them in the refrigerator for up to five days.
- Freezing: If you want to keep the cake for longer, wrap it tightly in plastic wrap and aluminum foil, then freeze it. It can last for about 1-3 months in the freezer. Just let it thaw in the fridge overnight before serving!
Can I use a different type of cookie for this cake?
Absolutely! While classic cookies & cream often use oreos, feel free to experiment. Here are some alternatives:
- Chocolate Sandwich Cookies: Any chocolate sandwich cookie will work beautifully.
- Gingersnaps or Snickerdoodles: For a spiced flavor profile, these cookies can be very exciting!
- Homemade Cookies: If you have a favorite homemade cookie recipe, you can try incorporating those too!
Feel free to get creative and mix in your favorite flavors. Happy baking!
Conclusion on Cookies and Cream Cake
Final Thoughts on Indulging in Homemade Desserts
Baking a Cookies And Cream Cake is more than just a treat; it’s an experience that brings joy to your kitchen and dining table. There’s something special about creating a dessert from scratch, where the sweet scents waft through your home. Plus, the satisfaction of sharing a slice with loved ones can turn an ordinary day into a memorable occasion.
When indulging in homemade desserts, remember that moderation is key. Treating yourself to this delightful cake, with layers of rich flavors and creamy filling, can be a fun way to reward hard work and celebrate life’s little achievements. So, don’t hesitate to explore more delicious recipes that spark your creativity! Check out BBC Good Food for more delightful baking ideas.
PrintCookies And Cream Cake: The Indulgent Treat You Can’t Resist

This Cookies And Cream Cake is an indulgent treat that combines rich chocolate and creamy vanilla flavors, perfect for any occasion.
- Prep Time: 20 minutes
- Cook Time: 30 minutes
- Total Time: 50 minutes
- Yield: 12 servings
- Category: Dessert
- Method: Baking
- Cuisine: American
- Diet: Vegetarian
Ingredients
- 2 cups all-purpose flour
- 1 ½ cups granulated sugar
- ½ cup unsweetened cocoa powder
- 1 cup buttermilk
- ½ cup vegetable oil
- 4 large eggs
- 2 teaspoons vanilla extract
- 1 teaspoon baking powder
- 1 teaspoon baking soda
- ½ teaspoon salt
- 1 ½ cups crushed chocolate sandwich cookies
- 2 cups heavy whipping cream
Instructions
- Preheat the oven to 350°F (175°C). Grease and flour two 9-inch round cake pans.
- In a large bowl, mix flour, sugar, cocoa powder, baking powder, baking soda, and salt.
- Add eggs, buttermilk, oil, and vanilla; beat until well combined.
- Fold in crushed cookies gently.
- Divide the batter evenly between the prepared pans.
- Bake for 25-30 minutes or until a toothpick comes out clean.
- Let the cakes cool completely before removing from pans.
- Whip the heavy cream until stiff peaks form, then frost the cooled cakes.
- Decorate with more crushed cookies on top.
Notes
- For a lighter cake, use less sugar and substitute yogurt for buttermilk.
- Use room temperature ingredients for easier mixing.
Nutrition
- Serving Size: 1 slice
- Calories: 450
- Sugar: 35g
- Sodium: 320mg
- Fat: 24g
- Saturated Fat: 12g
- Unsaturated Fat: 10g
- Trans Fat: 0g
- Carbohydrates: 50g
- Fiber: 2g
- Protein: 6g
- Cholesterol: 70mg