Introduction to Chocolate Covered Cherry Magic Bars
What are Chocolate Covered Cherry Magic Bars?
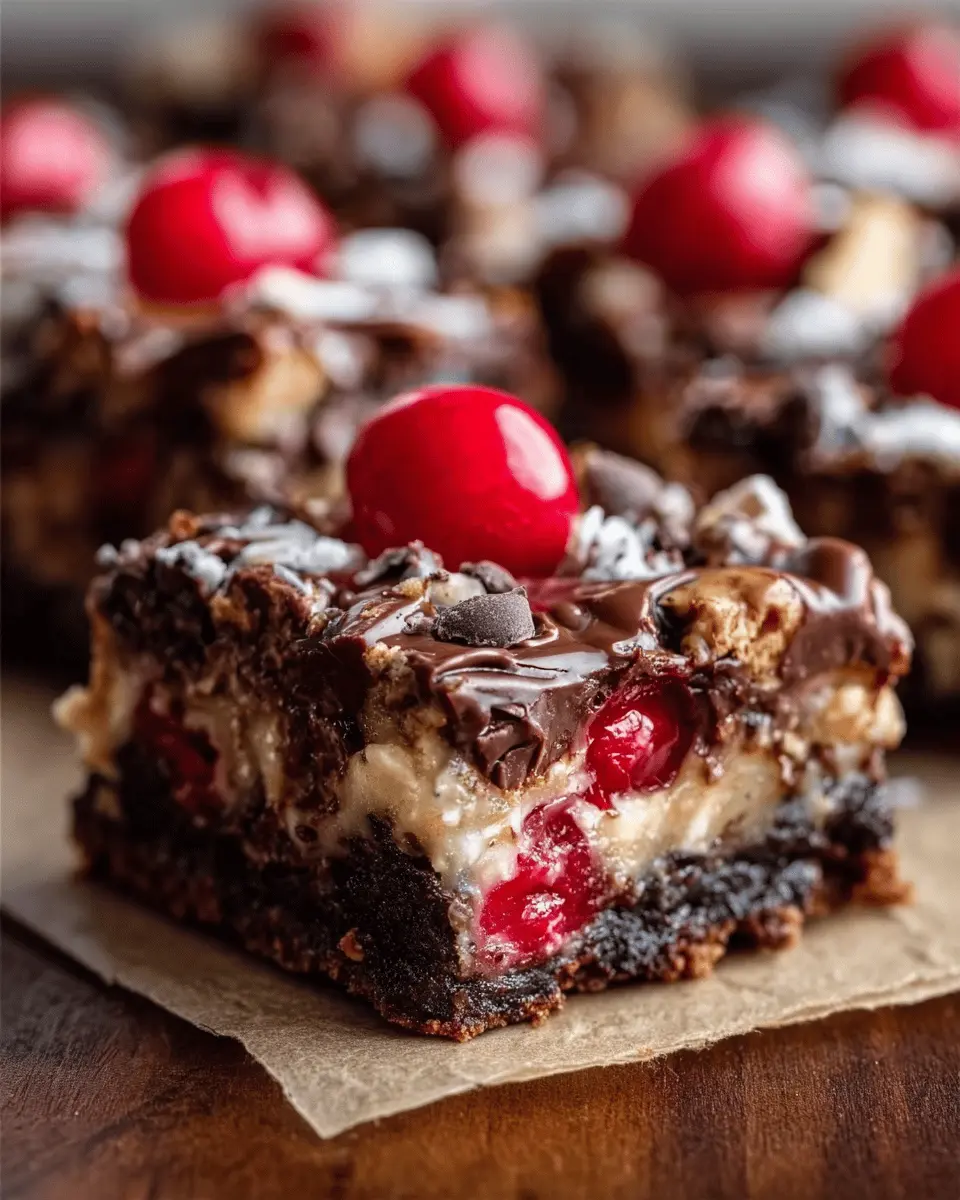
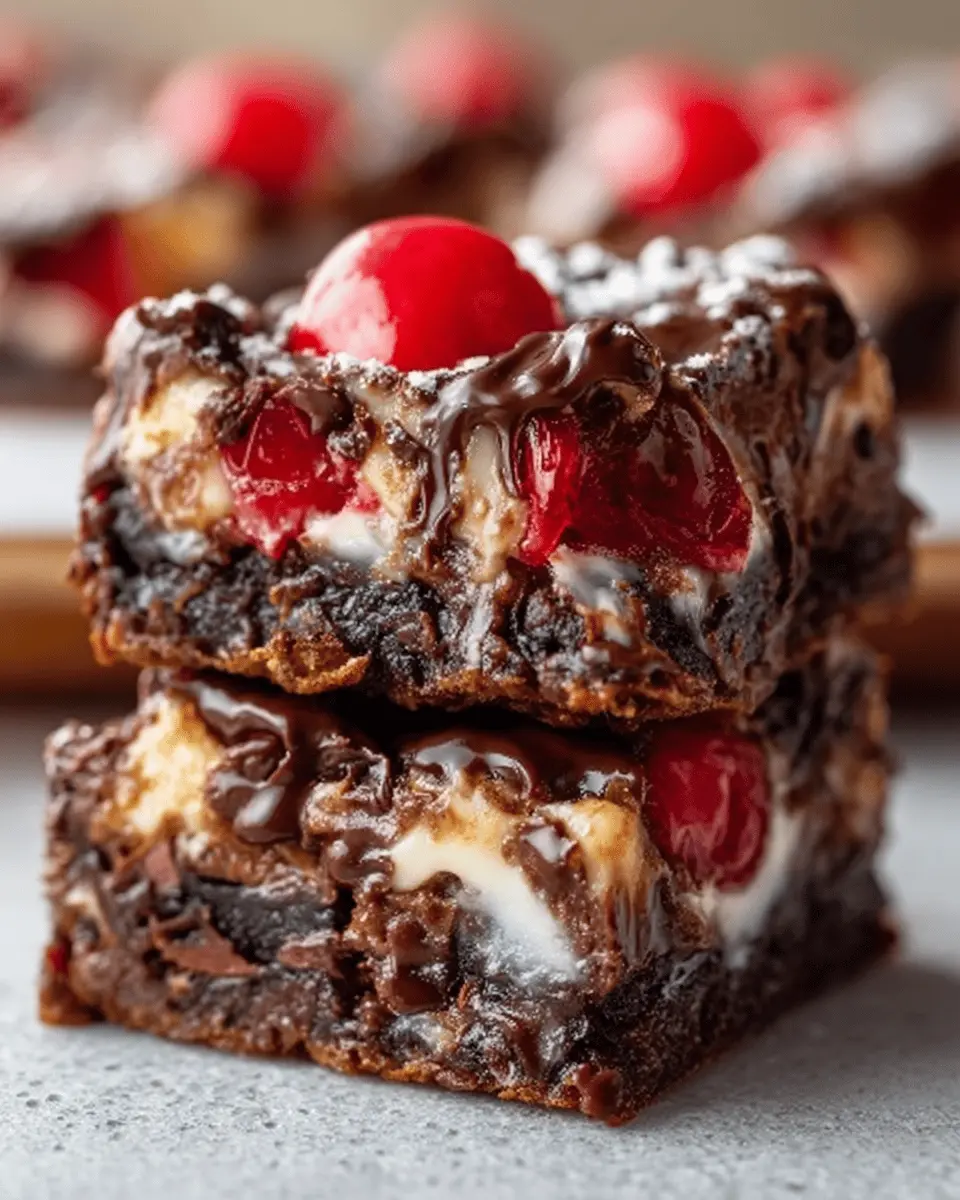
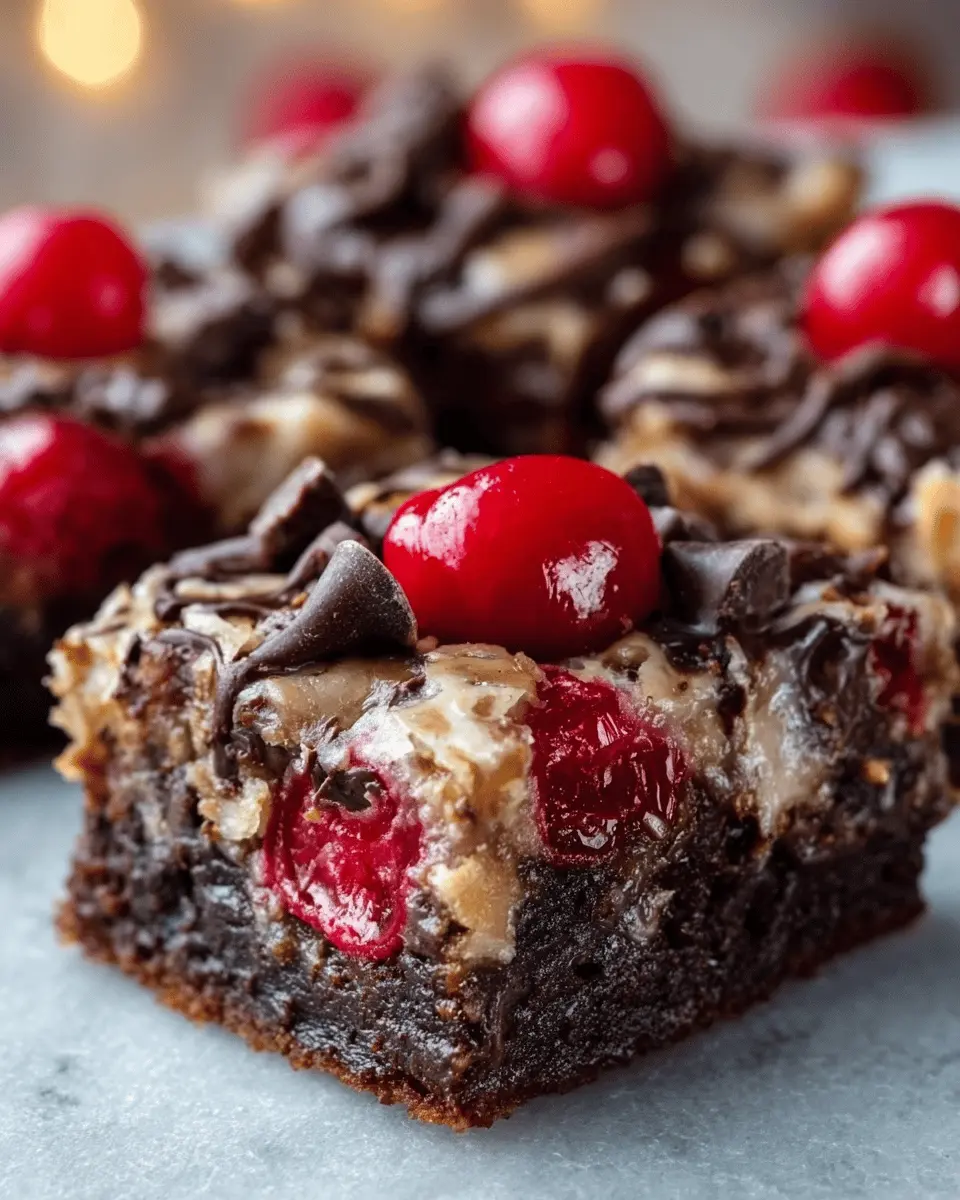
Chocolate covered cherry magic bars are an indulgent and delightful treat that combines the sweetness of chocolate, the tartness of cherries, and the satisfying chewiness of a graham cracker base. Imagine a dessert that has layers upon layers of flavors: rich chocolate chips, luscious cherries, and toasted coconut all harmoniously blended together. These bars are not just a sweet snack; they’re a heavenly experience for your taste buds.
Whether you’re entertaining friends or simply want to satiate your sweet tooth, these magic bars are the perfect solution. Plus, they come together easily, making them an excellent choice even for beginner bakers. Curious to see how they come together? You can start by checking out some simple base recipes for magic bars on King Arthur Baking — they offer wonderful insights to kickstart your baking adventure!
Why homemade treats are better than fast food?
Let’s be honest — when was the last time you felt genuinely good about indulging in store-bought desserts? Homemade treats like chocolate covered cherry magic bars not only taste superior but also allow you to control the ingredients. You can use high-quality chocolate, organic cherries, and even adjust the sweetness to your liking.
A study by the American Heart Association suggests that homemade meals can significantly reduce your intake of unhealthy preservatives and added sugars that are common in fast food options. In fact, when you whip up something in your kitchen, you create not only delicious flavors but also memories. Plus, how satisfying does it feel to share something made with love?
A personal story about discovering these delicious bars
I still remember the first time I encountered chocolate covered cherry magic bars. It was at a friend’s potluck, and I was instantly captivated by their glossy appearance and delicious aroma. One bite in, and I was hooked! I had never tasted anything quite like them before. They paired perfectly with my favorite hot chocolate, a cozy combination I now always recommend during the holiday season.
It was a revelation that homemade desserts could be both delectable and simple to make. That day sparked my journey into baking, and these bars remain a staple at every gathering. Who wouldn’t want to impress their friends with such a delightful treat?
So, if you’re ready to elevate your dessert game, pull out the baking pan and get ready to whip up some magic!
Ingredients for Chocolate Covered Cherry Magic Bars
Key ingredients you’ll need
To whip up some delightful chocolate covered cherry magic bars, you’ll need a handful of simple yet flavorful ingredients. Here’s what you should gather:
- Graham cracker crumbs: Forms the bar’s crunchy base.
- Sweetened condensed milk: Adds creaminess and binds the ingredients together.
- Unsweetened cocoa powder: For that rich chocolate flavor.
- Chocolate chips: Choose semi-sweet or dark for the topping.
- Chopped cherries: Fresh or canned, they elevate this treat to another level.
- Butter: For binding and flavor.
- Nuts (optional): Walnuts or pecans provide a lovely crunch.
Alternative ingredients for special diets
Got dietary restrictions? No problem! You can easily adapt this recipe:
- Gluten-free: Use gluten-free graham crackers.
- Dairy-free: Substitute coconut milk for sweetened condensed milk and opt for dairy-free chocolate chips.
- Nut-free: Omit the nuts entirely or substitute with sunflower seeds to keep the crunch.
For further inspiration on dietary substitutions, check out this health-focused guide. Let’s make these chocolate covered cherry magic bars suit your lifestyle!
Preparing Chocolate Covered Cherry Magic Bars
Creating chocolate covered cherry magic bars is a delightful culinary adventure that will fill your kitchen with irresistible aromas. These bars are not just a decadent treat; they’re perfect for gatherings or a cozy night in. Let’s dive into the preparation process together.
Gather Your Ingredients
Before jumping into the preparation, it’s essential to gather all your ingredients. This ensures a smooth workflow and helps avoid that last-minute dash to the store. Here’s what you’ll need:
- 1 ½ cups graham cracker crumbs
- 1 cup unsweetened shredded coconut
- 1 cup chopped nuts (walnuts or pecans work wonderfully)
- 1 can (14 ounces) sweetened condensed milk
- 1 cup semi-sweet chocolate chips
- 1 cup maraschino cherries (drained and chopped)
- ½ cup butter, melted
- A pinch of salt
All set? Great! Let’s move on to the next step.
Preheat Oven and Prepare Your Pan
Start by preheating your oven to 350°F (175°C). While it’s warming up, grab a 9×13-inch baking pan and grease it with non-stick spray or line it with parchment paper for easy removal later. This preparation makes sure your chocolate covered cherry magic bars come out perfectly.
Mix the Dry Ingredients
In a medium mixing bowl, combine the graham cracker crumbs, shredded coconut, chopped nuts, and a pinch of salt. This dry mixture is the foundation of your bars, providing that delightful crunch! Use a spatula or a fork to blend everything evenly. This is where the magic begins—literally.
Create the Chocolate Mixture
Next, in a separate bowl, whisk together the sweetened condensed milk and the melted butter. This creamy combination is what binds your ingredients and adds richness. Stir in the semi-sweet chocolate chips until they’re melted and smooth, blending all that chocolaty goodness together.
Combine Everything Together
Now comes the fun part! Gradually pour the chocolate mixture into the bowl with your dry ingredients. Use a spatula to fold the wet and dry components together. Make sure everything is well combined; you want each piece of graham cracker and cherry to be coated with that delicious chocolate mixture.
Layer the Cherries and Chocolate
Once everything is mixed, take half of your mixture and press it evenly into the bottom of the prepared baking pan. This acts as a solid base. Next, sprinkle the chopped maraschino cherries over the layer. Finally, top it off with the remaining chocolate mixture, making sure to spread it evenly.
Bake to Perfection
Now that your layers are in place, pop the pan in the preheated oven and let it bake for about 25-30 minutes. You’ll know it’s done when the edges are lightly browned and a toothpick inserted in the center comes out clean. This step is crucial because it gives your chocolate covered cherry magic bars that perfect chewy texture.
Cooling and Slicing
After baking, allow your bars to cool in the pan for at least 20 minutes. Once they’ve cooled down, gently lift them out using the edges of the parchment paper (if used) and transfer them to a cutting board. Slice into squares or bars, and voila! Your creation is ready to be savored.
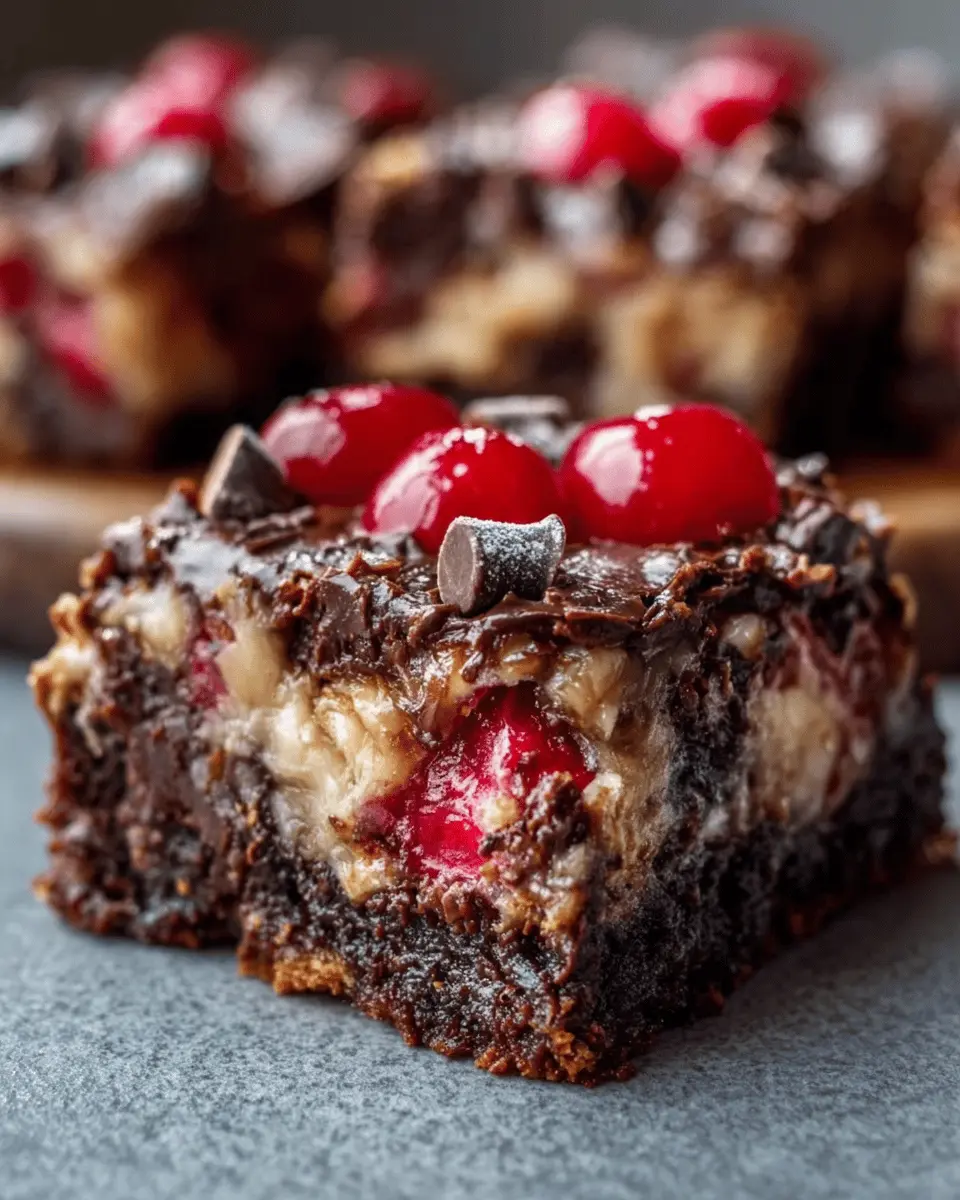
These chocolate covered cherry magic bars are not just a feast for the eyes but also a slice of happiness in each bite. Whether you share them with friends or keep them all to yourself, these bars are sure to impress. You might even consider pairing them with a warm cup of coffee or a scoop of vanilla ice cream to take the experience to another level.
For more tips on hosting the perfect gathering, you might want to check out Food Network. Enjoy your delicious creation!
Variations on Chocolate Covered Cherry Magic Bars
Cherry-Almond Magic Bars
If you love the classic combination of cherries and almonds, then this variation will surely be a crowd-pleaser. For this twist, simply incorporate almond extract and sprinkle chopped almonds on top of your chocolate covered cherry magic bars before baking. The nutty flavor will complement the tart cherries brilliantly. You can also replace some of the chocolate chips with almond-flavored white chocolate for an extra layer of decadence.
Dark Chocolate Cherry Bars
For those who prefer a richer, more intense flavor profile, consider making dark chocolate cherry bars. Use high-quality dark chocolate chips in place of semi-sweet to create a deeper, more luxurious taste. Pairing this with dried cherries instead of fresh can give it a delightful chewiness, making each bite a subtly complex experience. Dark chocolate is also loaded with antioxidants, so you can indulge guilt-free!
Vegan Chocolate Covered Cherry Magic Bars
Not eating animal products? No worries! Vegan chocolate covered cherry magic bars are just as delicious. Swap out regular chocolate chips for vegan ones, and use coconut oil instead of butter. For a creamy texture, look for coconut cream in place of condensed milk. This variation still maintains that heavenly chocolate-cherry charm while sticking to a plant-based lifestyle. To make it even more interesting, try adding a layer of crushed walnuts or pecans.
These variations allow you to customize your chocolate covered cherry magic bars to fit your personal tastes and dietary preferences. Enjoy experimenting, and don’t forget to share your creations on social media! You might inspire someone else to try something new in their kitchen.
Cooking Tips and Notes for Chocolate Covered Cherry Magic Bars
Best Practices for a Successful Bake
When crafting your chocolate covered cherry magic bars, the key is to ensure even baking. Make sure to preheat your oven well—this is crucial for that golden, gooey goodness. Consider using parchment paper to line your baking dish; this will make cleanup a breeze and prevent sticking. An oven thermometer can also be a game-changer to ensure accurate temperatures.
Ingredient Swap Suggestions
Feel free to get creative with your ingredients! For a unique twist, you can swap out the nuts for your favorite mix-ins, like dried cranberries or even sweetened coconut flakes. If you’re looking to cut down on sugar, consider using a sugar substitute in the crust. It’s all about tailoring this recipe to fit your taste and dietary needs!
Storing Leftovers for Freshness
To keep your chocolate covered cherry magic bars as fresh as possible, store them in an airtight container at room temperature for up to three days. If you want to prolong their life, refrigerate them for about a week. Don’t forget to layer parchment paper between the bars to prevent sticking if you’re stacking them! For longer-term storage, consider freezing them, which will maintain their deliciousness for up to three months.
With these tips, your baking adventure will be delightful and successful! For more insights, check out Baking Basics and Cooking for Beginners. Happy baking!
Serving suggestions for Chocolate Covered Cherry Magic Bars
How to serve these bars at a gathering
When it comes to sharing your chocolate covered cherry magic bars, presentation is key! Cut them into bite-sized squares and arrange them on a tiered serving platter for an elegant touch. You can enhance the experience by adding a small bowl of fresh cherries or a drizzle of chocolate sauce on the side, inviting guests to customize their treats. For a cozy gathering, consider serving them alongside warm mugs of hot cocoa or coffee—the comfort of these drinks pairs perfectly with the rich flavors of your bars!
Pairing suggestions with beverages or snacks
To balance the sweetness of your chocolate covered cherry magic bars, think about complementary flavors. Here are some tasty suggestions:
- Coffee or Espresso: The bitterness of coffee contrasts beautifully with the sweet, gooey bars.
- Herbal Teas: A light chamomile or mint tea can be refreshing and delightful.
- Milk: Classic and comforting, a glass of milk enhances the chocolaty goodness.
If you want to make it a fun snack spread, add some Turkey Bacon bites or Chicken Ham sliders. Not only will this add some savory elements, but it also rounds out the flavor experience for your guests.
For more serving ideas and inspiration, check out this gathering tips article to elevate your dessert game.
Time breakdown for Chocolate Covered Cherry Magic Bars
Preparation time
Getting started on your chocolate covered cherry magic bars is a breeze! You’ll need approximately 15 minutes to gather your ingredients and prepare your pan. While you chop the cherries and mix the layers, you’ll realize this is more fun than work.
Baking time
Once your bars are prepped, it’s time to bake. Place them in the oven and let them work their magic for about 25 to 30 minutes. You’ll know they’re ready when the edges are golden and the center looks set.
Total time
In total, you’re looking at around 45 to 55 minutes from start to finish. Whether you’re making these delightful treats for a gathering or just for yourself, you’ll be enjoying these delicious chocolate covered cherry magic bars in no time!
If you’re curious about other quick dessert recipes, check out Food Network for fun ideas.
Nutritional facts for Chocolate Covered Cherry Magic Bars
Calories per serving
When you’re treating yourself to chocolate covered cherry magic bars, it’s good to know what you’re indulging in. Each serving typically packs around 250-300 calories, depending on portion size and specific ingredients used. While this isn’t a snack you’d have every day, it’s perfect for a special occasion or a sweet pick-me-up.
Macronutrient breakdown
Let’s break down those calories a bit further. Each bar generally contains:
- Fat: 14-18 grams, mainly from butter and chocolate.
- Carbohydrates: 35-40 grams, thanks to the graham cracker crust and cherries.
- Protein: 3-5 grams, a bit from the nuts, if you choose to add them.
For more detailed insights on macronutrients, check out resources like MyFitnessPal.
Healthier indulgence opportunities
While chocolate covered cherry magic bars are undeniably delicious, there are ways to lighten your favorite recipe. Consider substituting:
- Nut butters for oils in the base to add healthy fats.
- Whole wheat flour instead of all-purpose for added fiber.
- Dark chocolate instead of milk chocolate for richer flavor and antioxidants.
Making these simple swaps can help you enjoy your magic bars while still feeling great about the indulgence. And hey, who doesn’t love a healthier twist on a classic dessert?
FAQ about Chocolate Covered Cherry Magic Bars
Can I substitute fresh cherries for maraschino cherries?
Absolutely! While maraschino cherries provide that classic sweet-and-sour flavor, using fresh cherries can elevate your chocolate covered cherry magic bars with a burst of fresh taste. If you go this route, make sure to pit and chop them finely. Just keep in mind that fresh cherries have different moisture levels, so you might want to reduce other liquid ingredients to maintain the right texture.
How can I make these bars gluten-free?
Making your chocolate covered cherry magic bars gluten-free is a breeze! Just swap out regular all-purpose flour for a gluten-free blend. Many brands, such as Bob’s Red Mill or King Arthur Flour, have excellent options. Check the packaging for proper measurements. Additionally, ensure that any additional mix-ins, like chocolate chips or nuts, are also gluten-free.
What’s the best way to store these bars for longevity?
To keep your chocolate covered cherry magic bars fresh, store them in an airtight container at room temperature for up to a week. If you want longer storage, they freeze beautifully! Just wrap them tightly in plastic wrap and then place them in a freezer-safe container. They can last up to three months in the freezer. When you’re ready to enjoy, simply thaw them at room temperature or pop them in the microwave for a few seconds for that fresh-baked taste!
These tips should enhance your baking experience and ensure you enjoy every delightful bite of your chocolate covered cherry magic bars. If you’re looking for more inspiration, check out Food Network for additional baking ideas!
Conclusion on Chocolate Covered Cherry Magic Bars
Recap of the magic of homemade treats
Making your chocolate covered cherry magic bars at home transforms simple ingredients into a delightful experience. The blend of rich chocolate, sweet cherries, and the buttery base creates a flavor explosion that’s hard to resist. Plus, there’s something truly special about whipping up treats from scratch, knowing exactly what’s going into them.
Encouragement to try the recipe
If you haven’t ventured into baking these bars yet, I encourage you to dive in! This recipe is perfect for both seasoned bakers and those just starting out. Gather your friends or family, and make it a fun kitchen adventure. The joy of creating something delicious will surely brighten your day.
A final thought on the joy of baking and sharing food
Baking is about more than just satisfying your sweet tooth; it’s an opportunity to connect with others. Sharing your chocolate covered cherry magic bars can turn an ordinary moment into something special. So preheat that oven and let the magic unfold! For more sweet ideas, check out this guide to baking essentials or fun baking tips. Enjoy your baking journey!
PrintChocolate Covered Cherry Magic Bars: Indulgent Treat for Everyone
Indulge in these decadent chocolate covered cherry magic bars, perfect for satisfying any sweet tooth.
- Prep Time: 15 minutes
- Cook Time: 30 minutes
- Total Time: 45 minutes
- Yield: 12 servings
- Category: Dessert
- Method: Baking
- Cuisine: American
- Diet: Vegetarian
Ingredients
- 1 cup graham cracker crumbs
- 1/2 cup unsweetened cocoa powder
- 1/2 cup melted butter
- 1 can sweetened condensed milk
- 1 cup chocolate chips
- 1 cup cherries, pitted and chopped
Instructions
- Preheat oven to 350°F (175°C).
- In a mixing bowl, combine graham cracker crumbs and cocoa powder.
- Add melted butter and mix well.
- Press mixture into the bottom of a greased baking dish.
- Pour sweetened condensed milk evenly over the crust.
- Sprinkle chocolate chips and cherries on top.
- Bake for 25-30 minutes or until set.
- Allow to cool before cutting into bars.
Notes
- These bars can be made ahead of time and stored for later enjoyment.
- Experiment with different types of chocolate chips for varied flavors.
Nutrition
- Serving Size: 1 bar
- Calories: 250
- Sugar: 22g
- Sodium: 180mg
- Fat: 12g
- Saturated Fat: 7g
- Unsaturated Fat: 4g
- Trans Fat: 0g
- Carbohydrates: 32g
- Fiber: 1g
- Protein: 3g
- Cholesterol: 20mg